

Sign in
Connect to the RevPi, sign in to the dashboard and find your way around.
Connect and sign in
- Connect the RevPi to your network. Use either of the two Ethernet ports (RJ45) on the front of the RevPi. You need a network connection, for example through a router, your company network or an LTE router.
- Find the RevPi’s IP address. In the router’s interface, find the IP address assigned to the RevPi. If you do not have access to the router’s interface, ask your IT department for the address.
- Open the dashboard. On a computer connected to the same network, open
http://<address-of-the-device>:8000/in a web browser. Replace<address-of-the-device>with the RevPi’s IP address and keep:8000/at the end. - Sign in. Use the credentials provided when your RevPi was delivered.
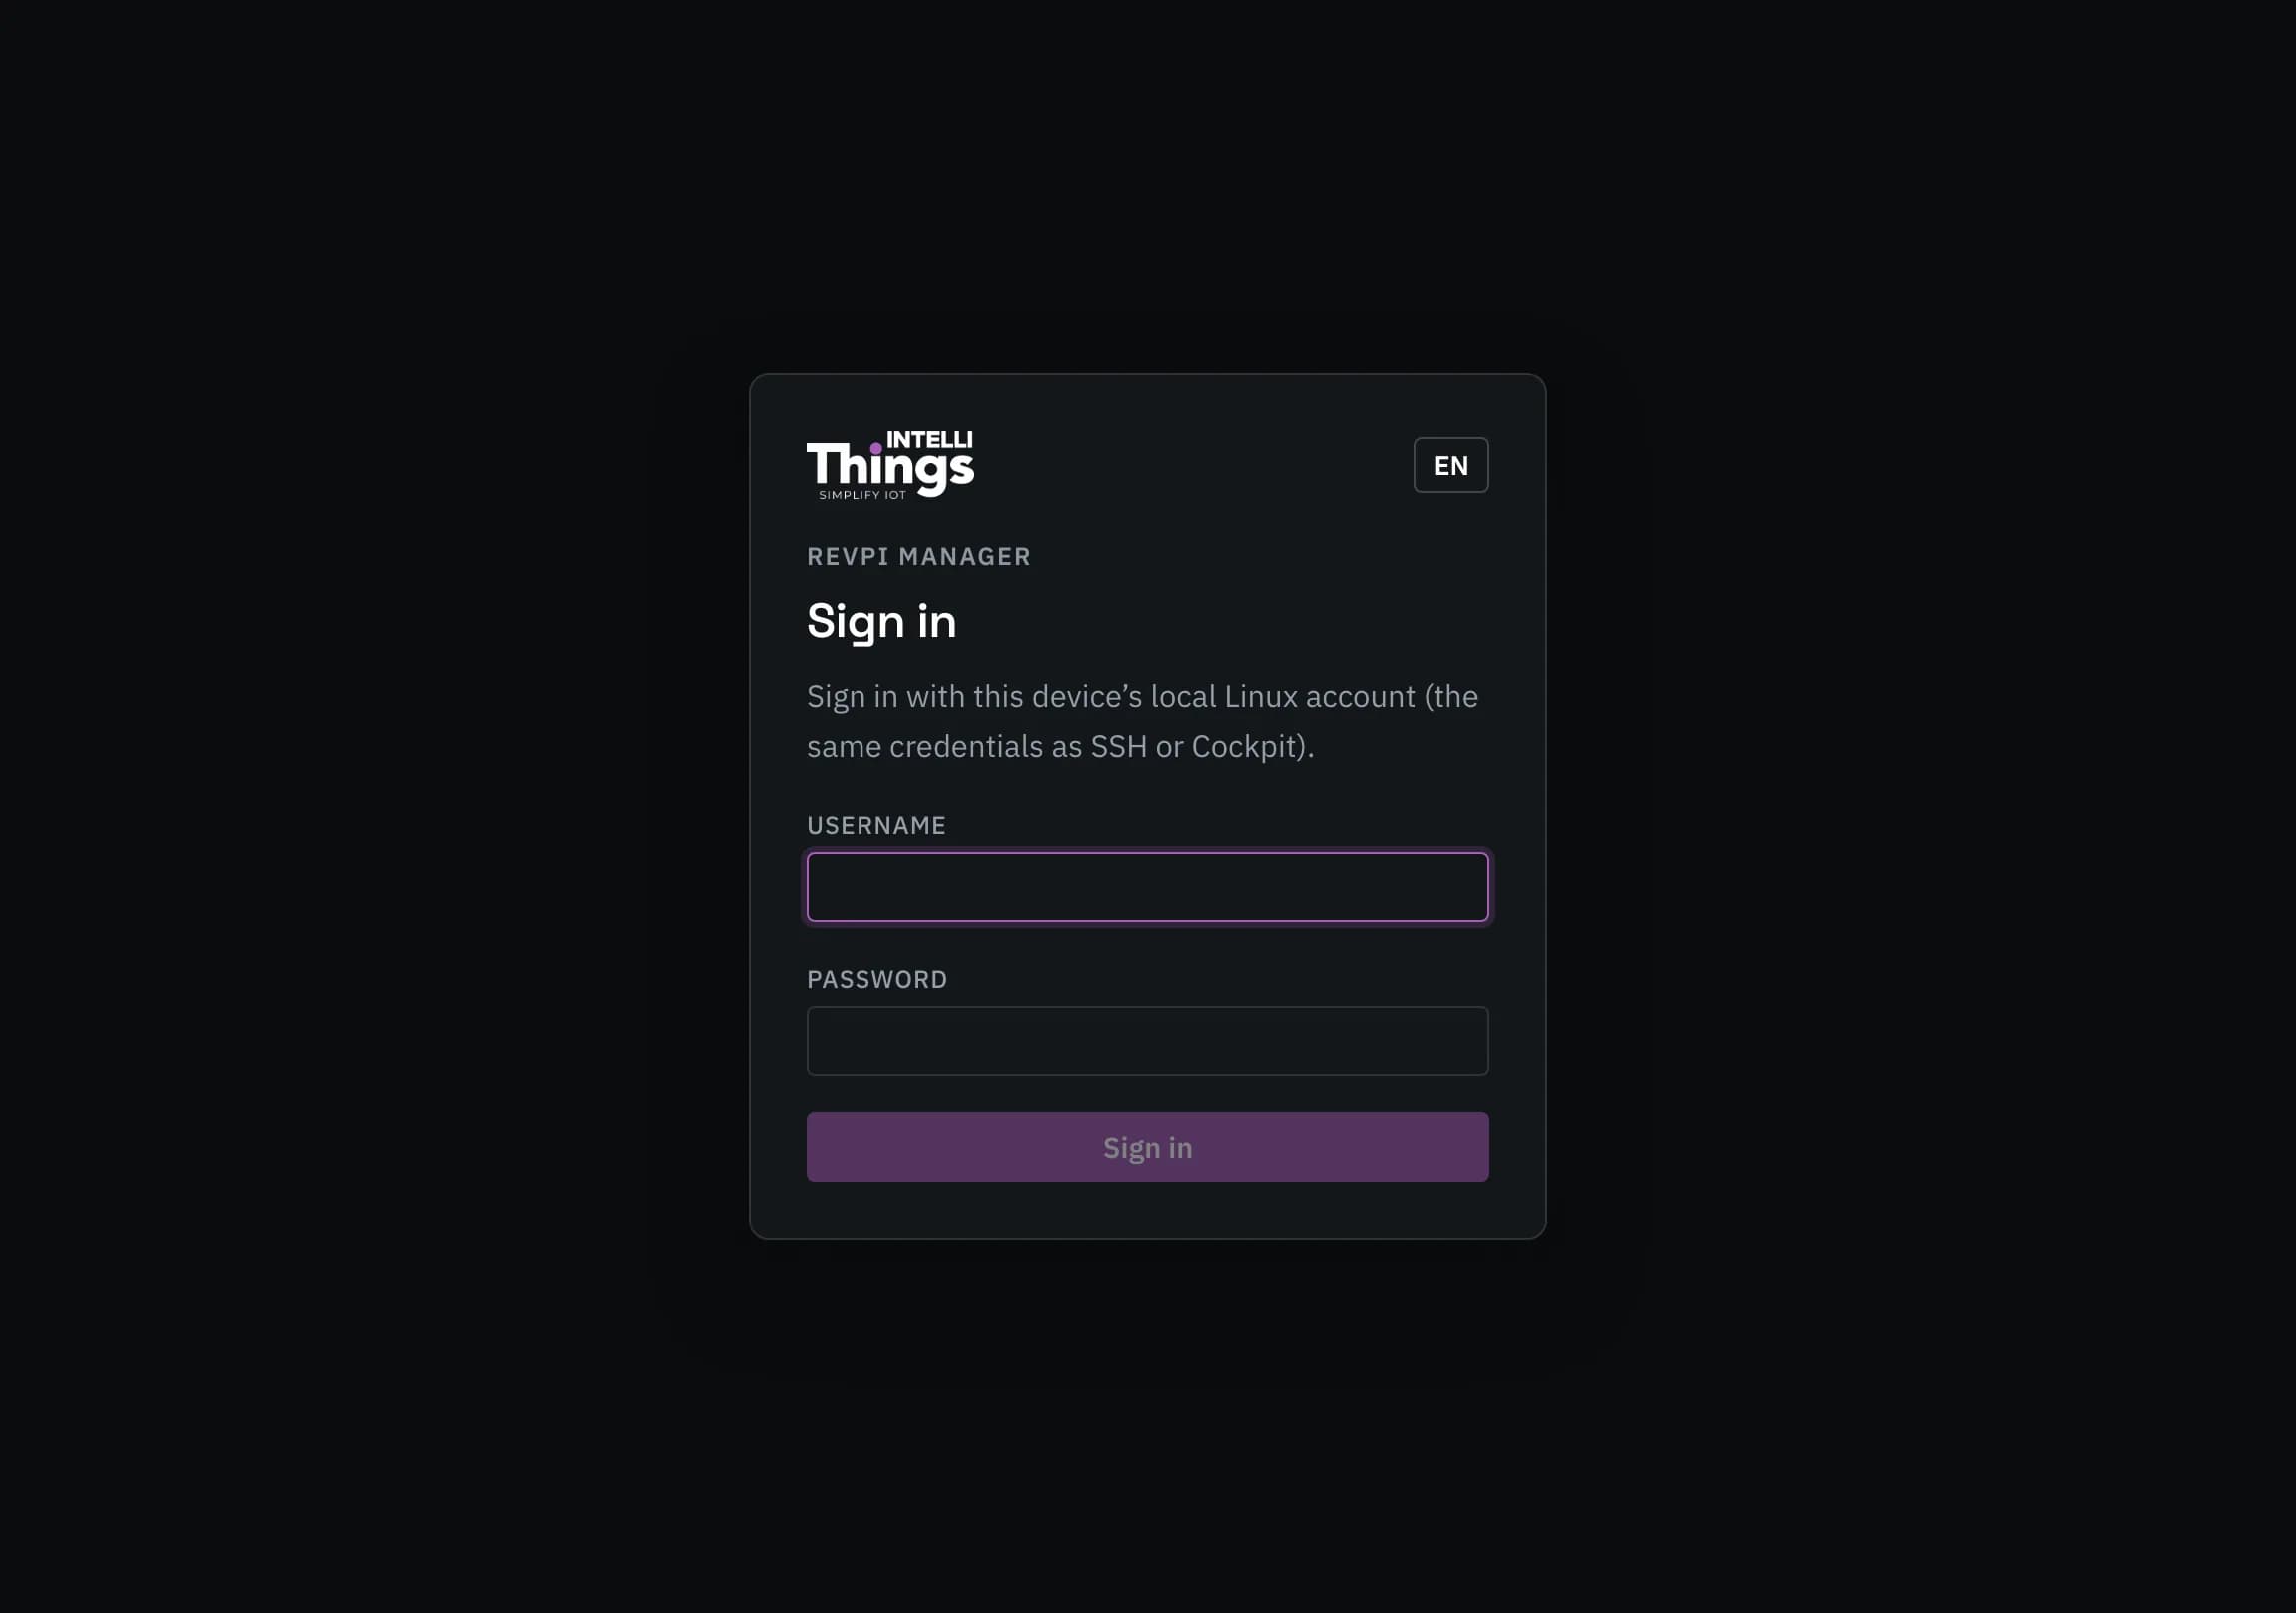
The dashboard uses the same device account as RevPi Cockpit, the RevPi’s administration interface. The account is usually named pi, and its password is set during commissioning. Use the credentials supplied with your RevPi; you do not need a separate dashboard account or password.
After five failed sign-in attempts, sign-in is blocked for one minute. You remain signed in while you are working. After 12 hours of inactivity, you need to sign in again.
The header
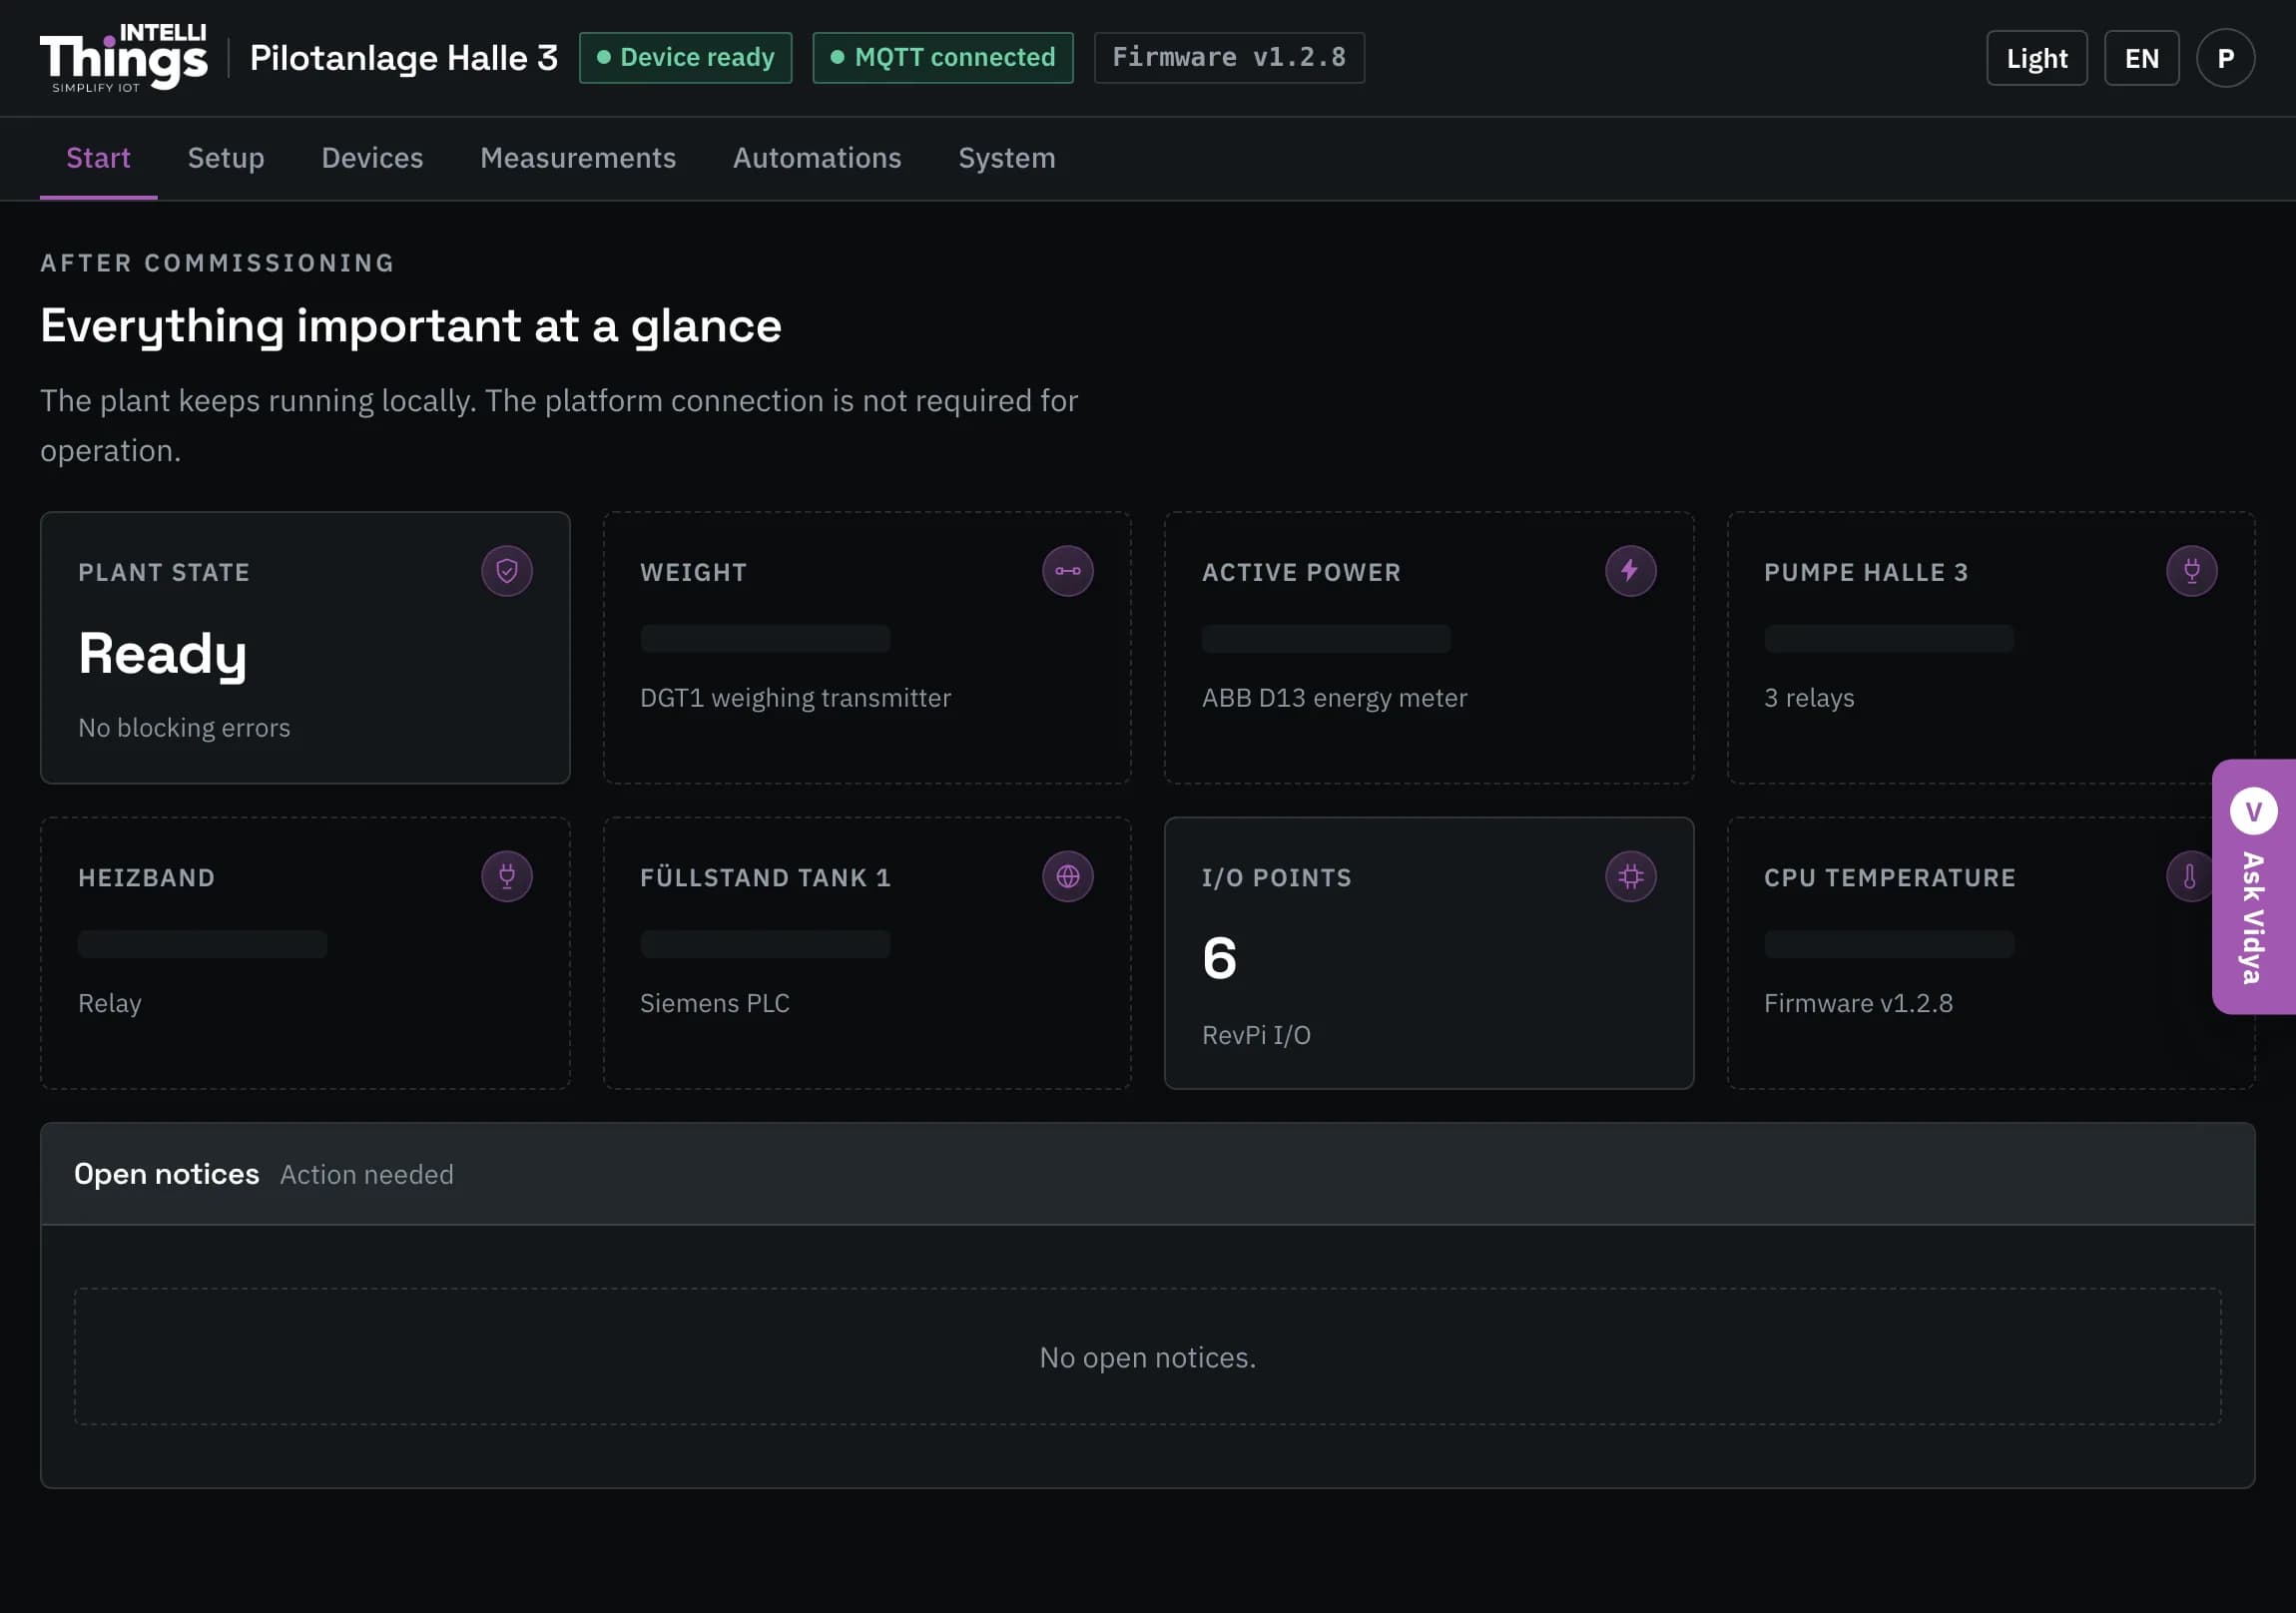
| Element | Meaning |
|---|---|
| The name on the left | The RevPi’s display name, for example Pilot system, Hall 3. Change it under System → Device identity. |
| Device ready | The browser can reach the RevPi. A red status indicates that the RevPi is powered off, restarting or unreachable over the network. |
| MQTT connected | The RevPi is connected to intelliThings CORE. MQTT is the messaging protocol used for this connection. |
| Firmware … | The firmware version running on the RevPi. |
| Light / Dark | Switch between light and dark themes. Your choice is saved in this browser. |
| DE / EN | Switch between German and English. Your choice is saved in this browser. |
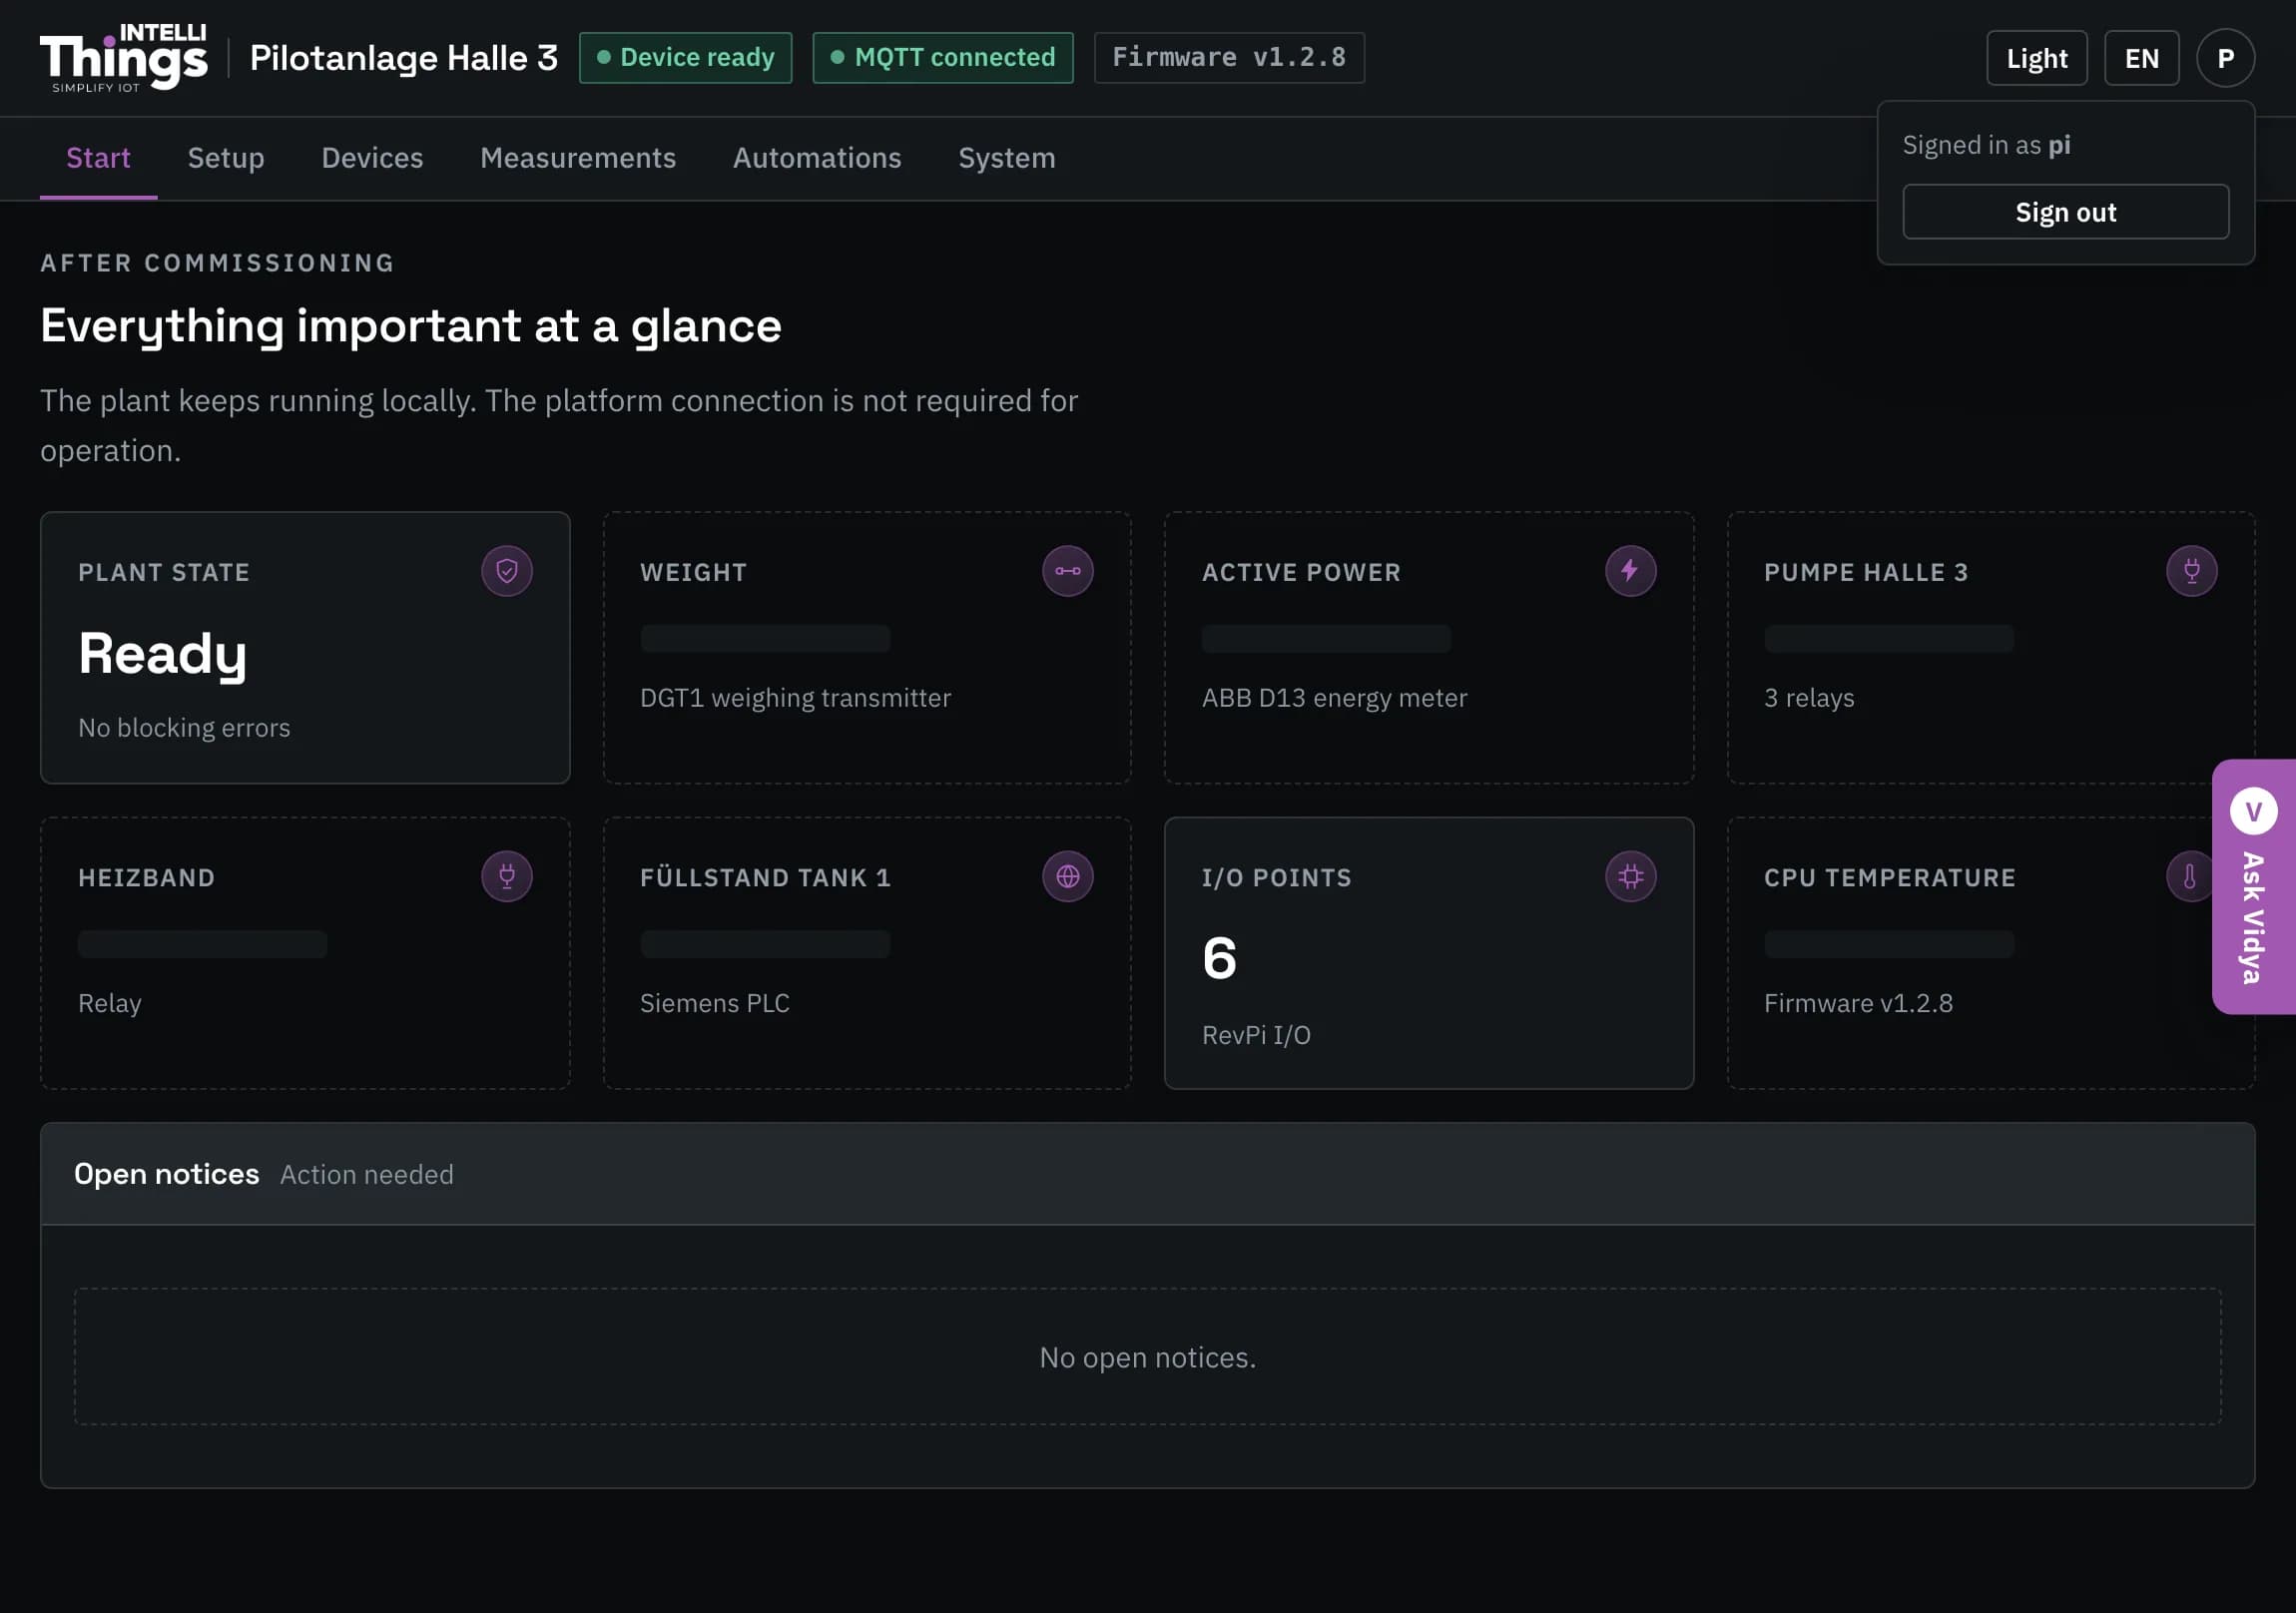
| Account icon (your initial in a circle) | Open the account menu to see which account you are signed in with or select Sign out. |
The two connection indicators describe separate connections: Device ready refers to the connection between your browser and the RevPi; MQTT connected refers to the connection between the RevPi and intelliThings CORE.
Tabs
Use the tabs to move between the main pages:
| Tab | Purpose |
|---|---|
| Start | View device readings and notices at a glance. |
| Setup | Add connected devices. |
| Devices | View readings and configure individual devices. |
| Measurements | Choose which readings to send to intelliThings CORE and how often to send them. |
| Automations | Configure rules that run locally on the RevPi. |
| System | Manage updates, backups and certificates, and access diagnostics. |
Each page has its own web address, so you can bookmark a device page or share a link to it.
A tip bar directs new users to the device cards. Once you close it, it stays closed.
Light or dark
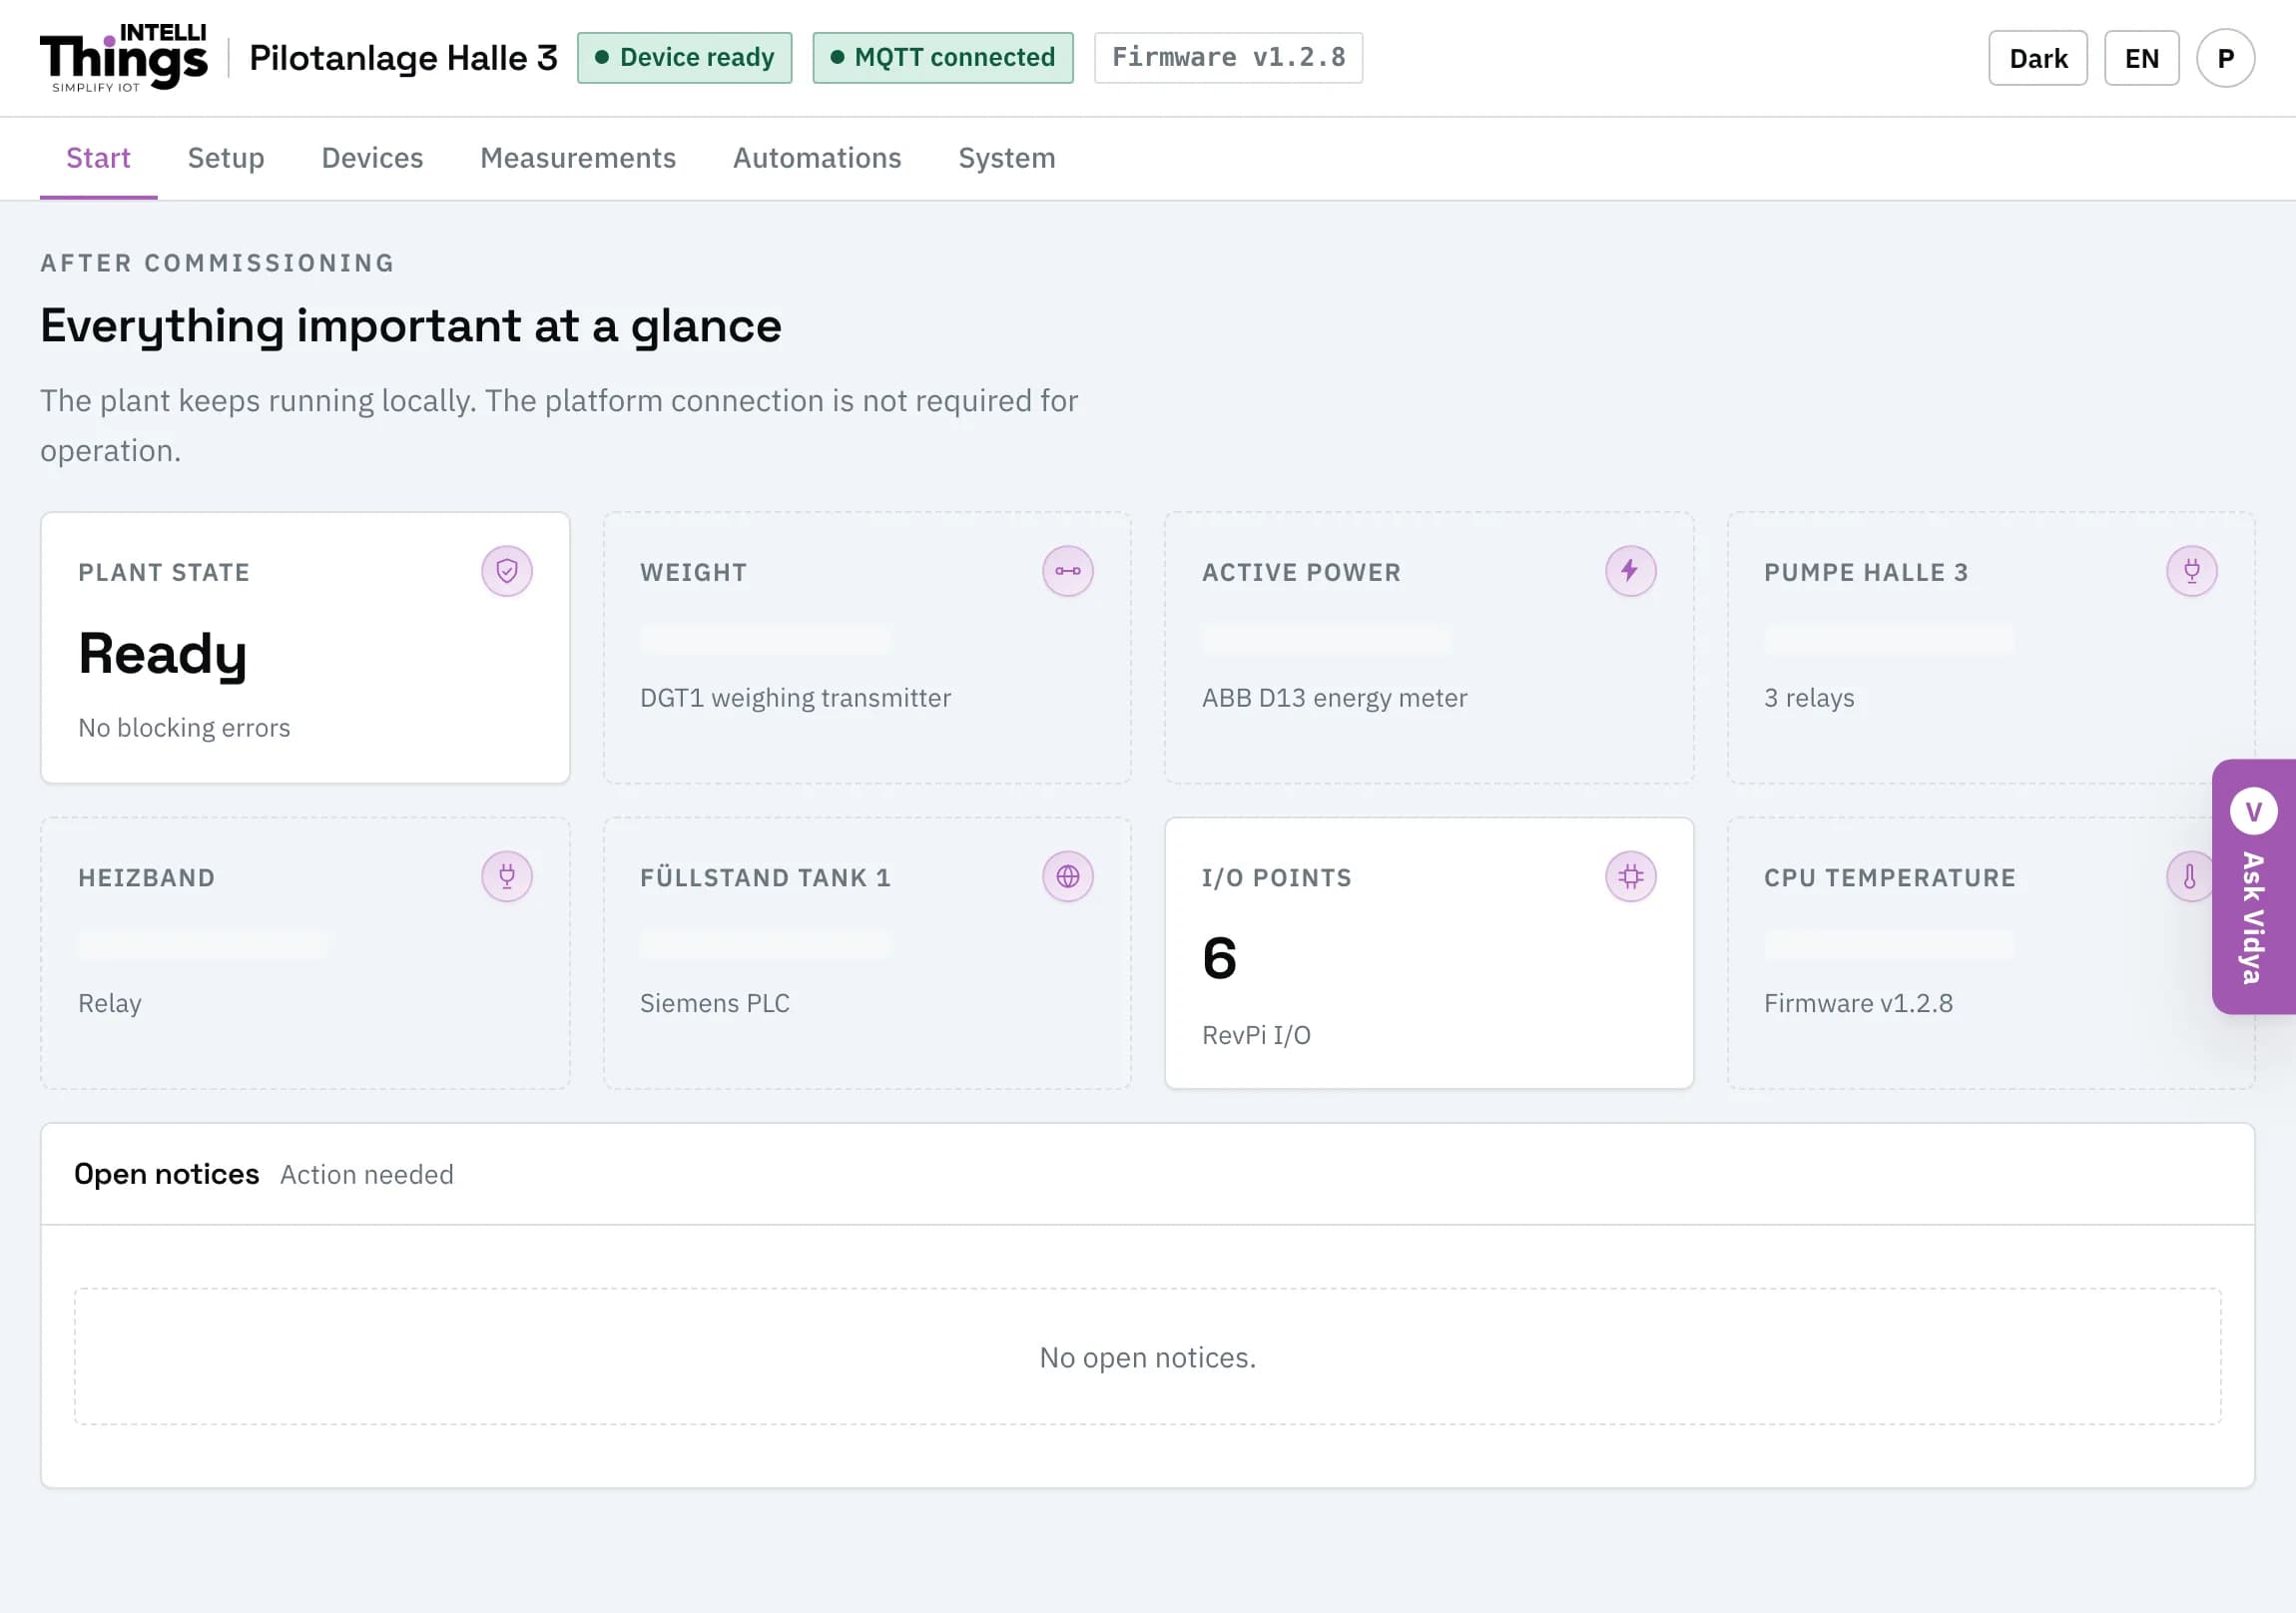
Both themes provide the same dashboard functions. The dark theme suits dimly lit switch rooms; the light theme is easier to read on a tablet in daylight.
Vidya
Select the violet Ask Vidya tab on the right edge to open the built-in assistant. Vidya can access the RevPi’s configuration, live readings and automation rules, as well as this guide. You can ask it questions in your own words. See Vidya assistant.