

Device pages
View readings and configure the energy meter, weighing transmitter, Shelly relays, Siemens PLC and camera.
Open Devices and select a device card to view its live readings, wiring diagram and settings. The Advanced section contains settings that must match the connected hardware.
ABB D13 energy meter
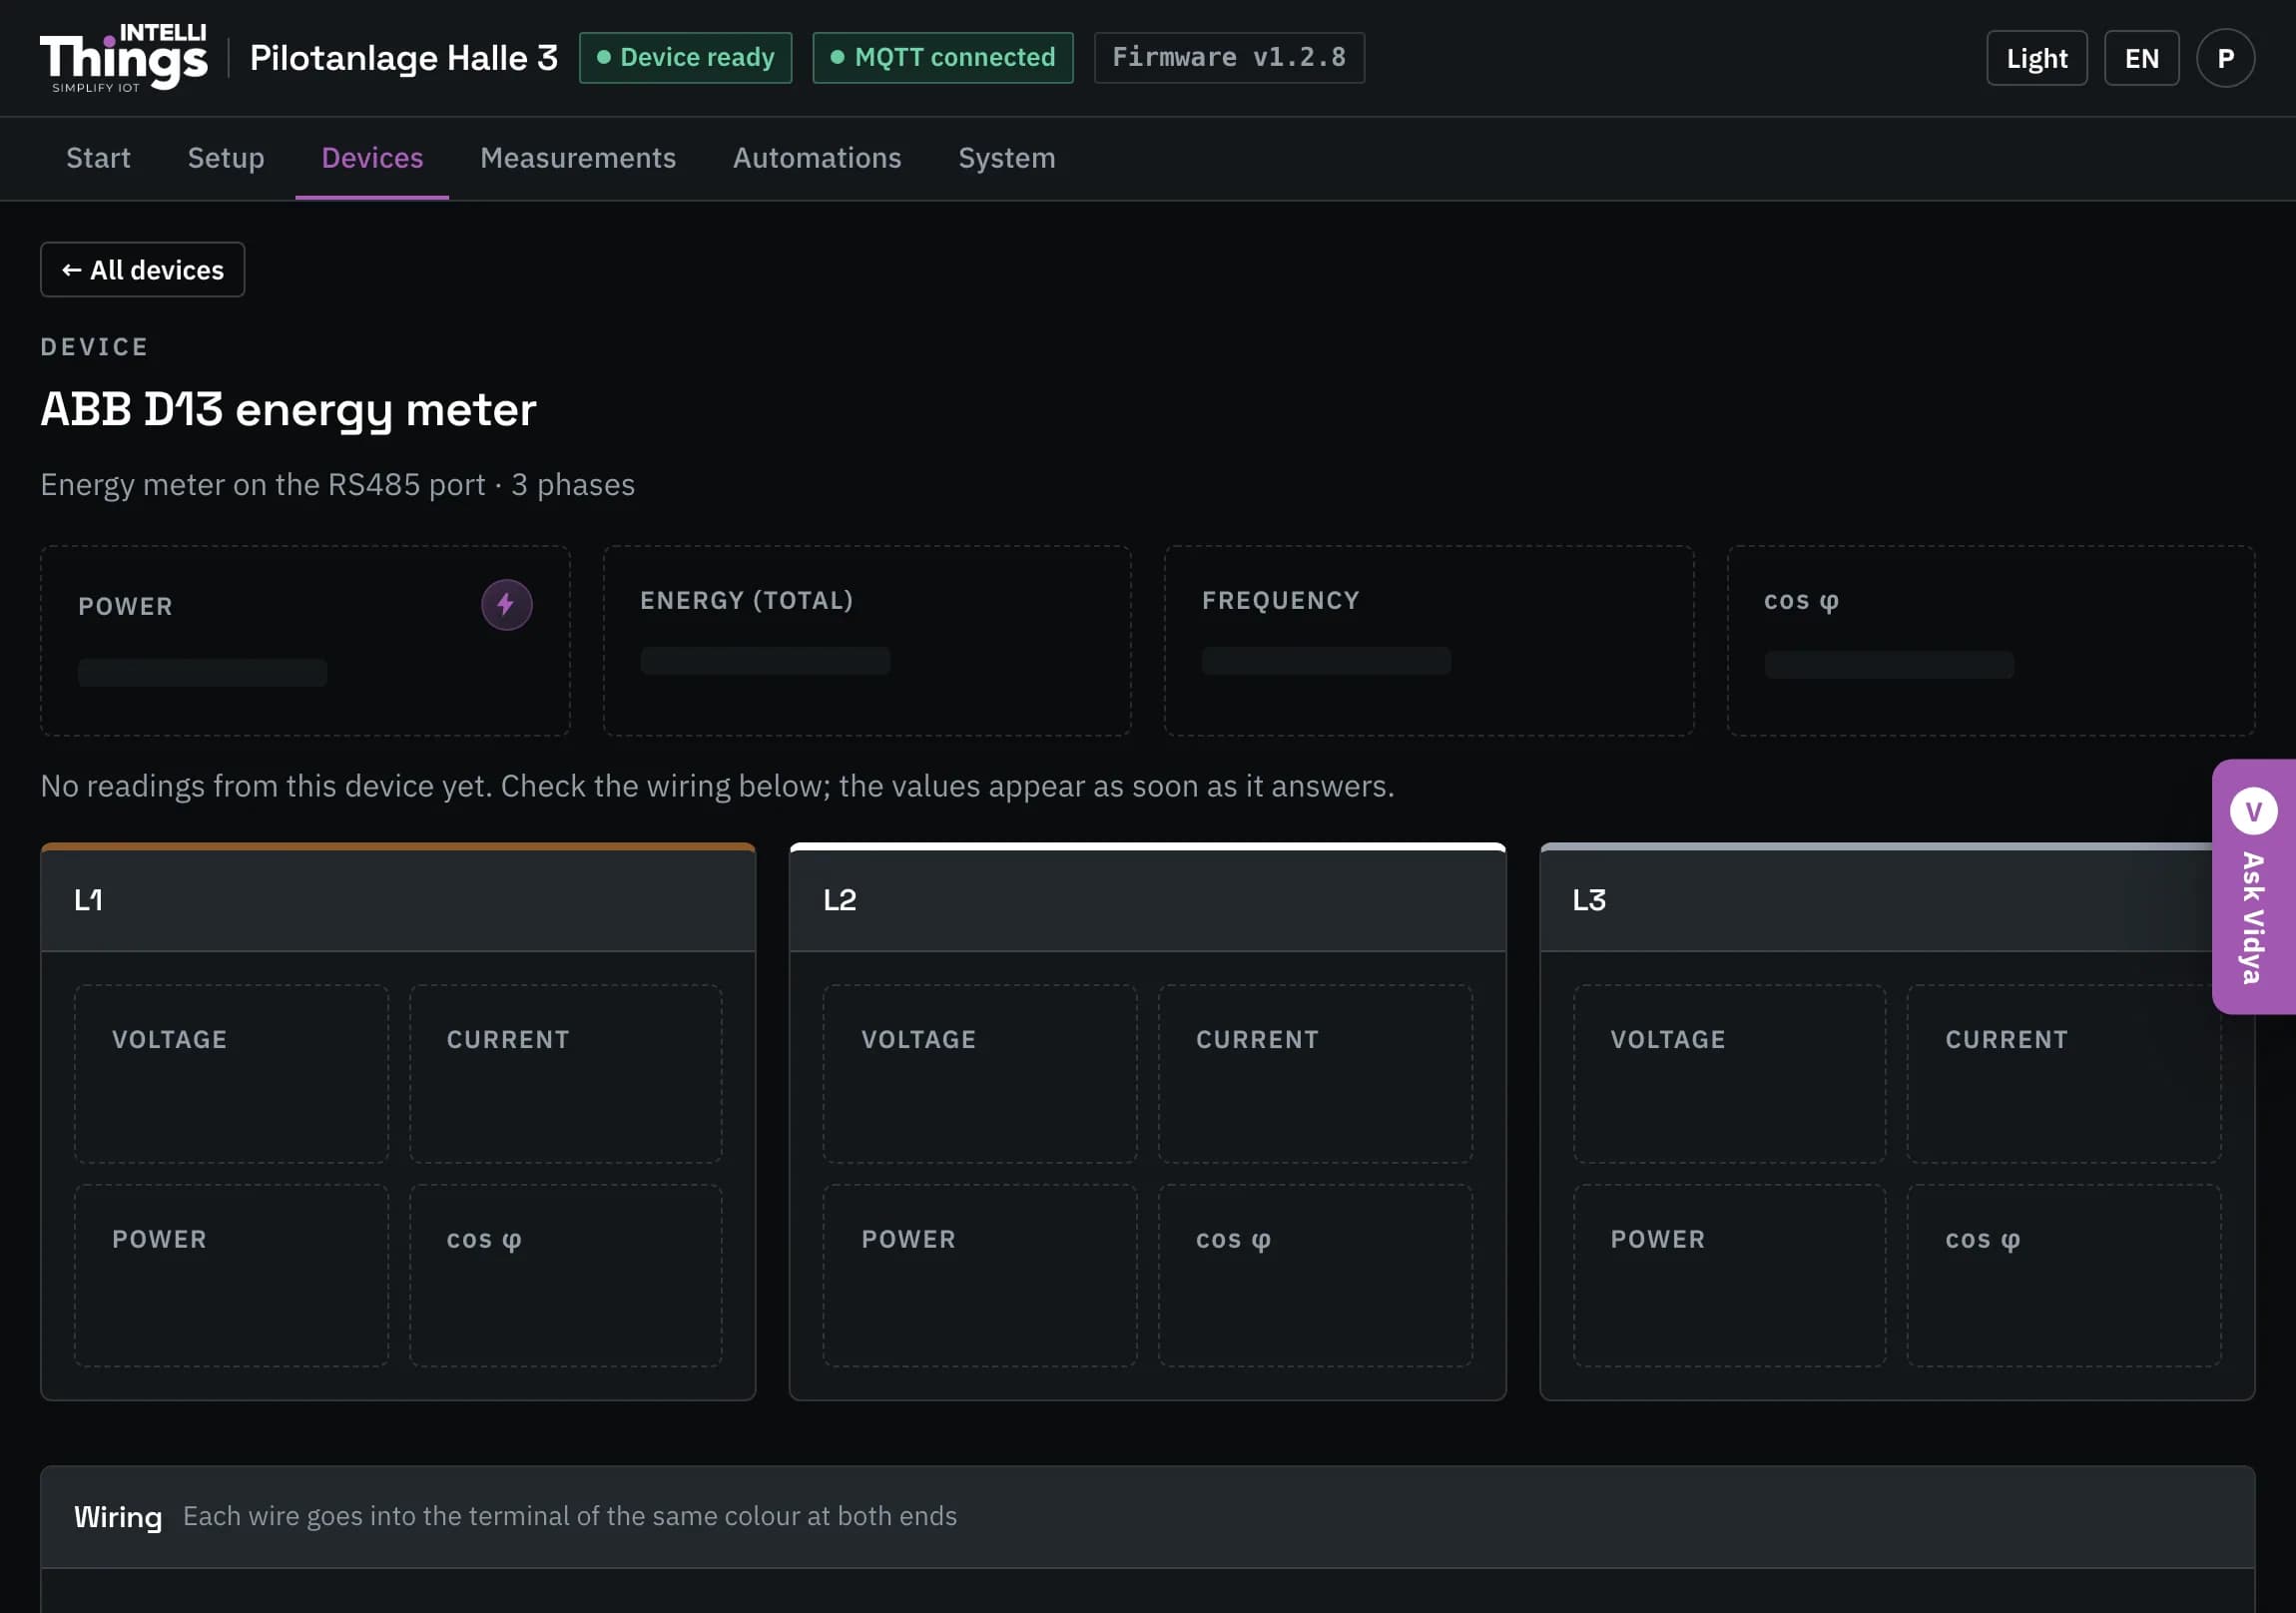
The top of the page shows power, energy, frequency and power factor. Below it, one panel per phase (L1, L2, L3) shows voltage, current, power and cos φ.
Wiring: the diagram highlights the connections at both ends of the cable. The RevPi’s terminals are labelled P, N, GND; the meter’s terminals are usually labelled A, B, GND. Connect P to A and N to B. If these two connections are reversed, the RevPi does not receive readings.
Open Advanced to view the meter’s response status and configure serial communication:
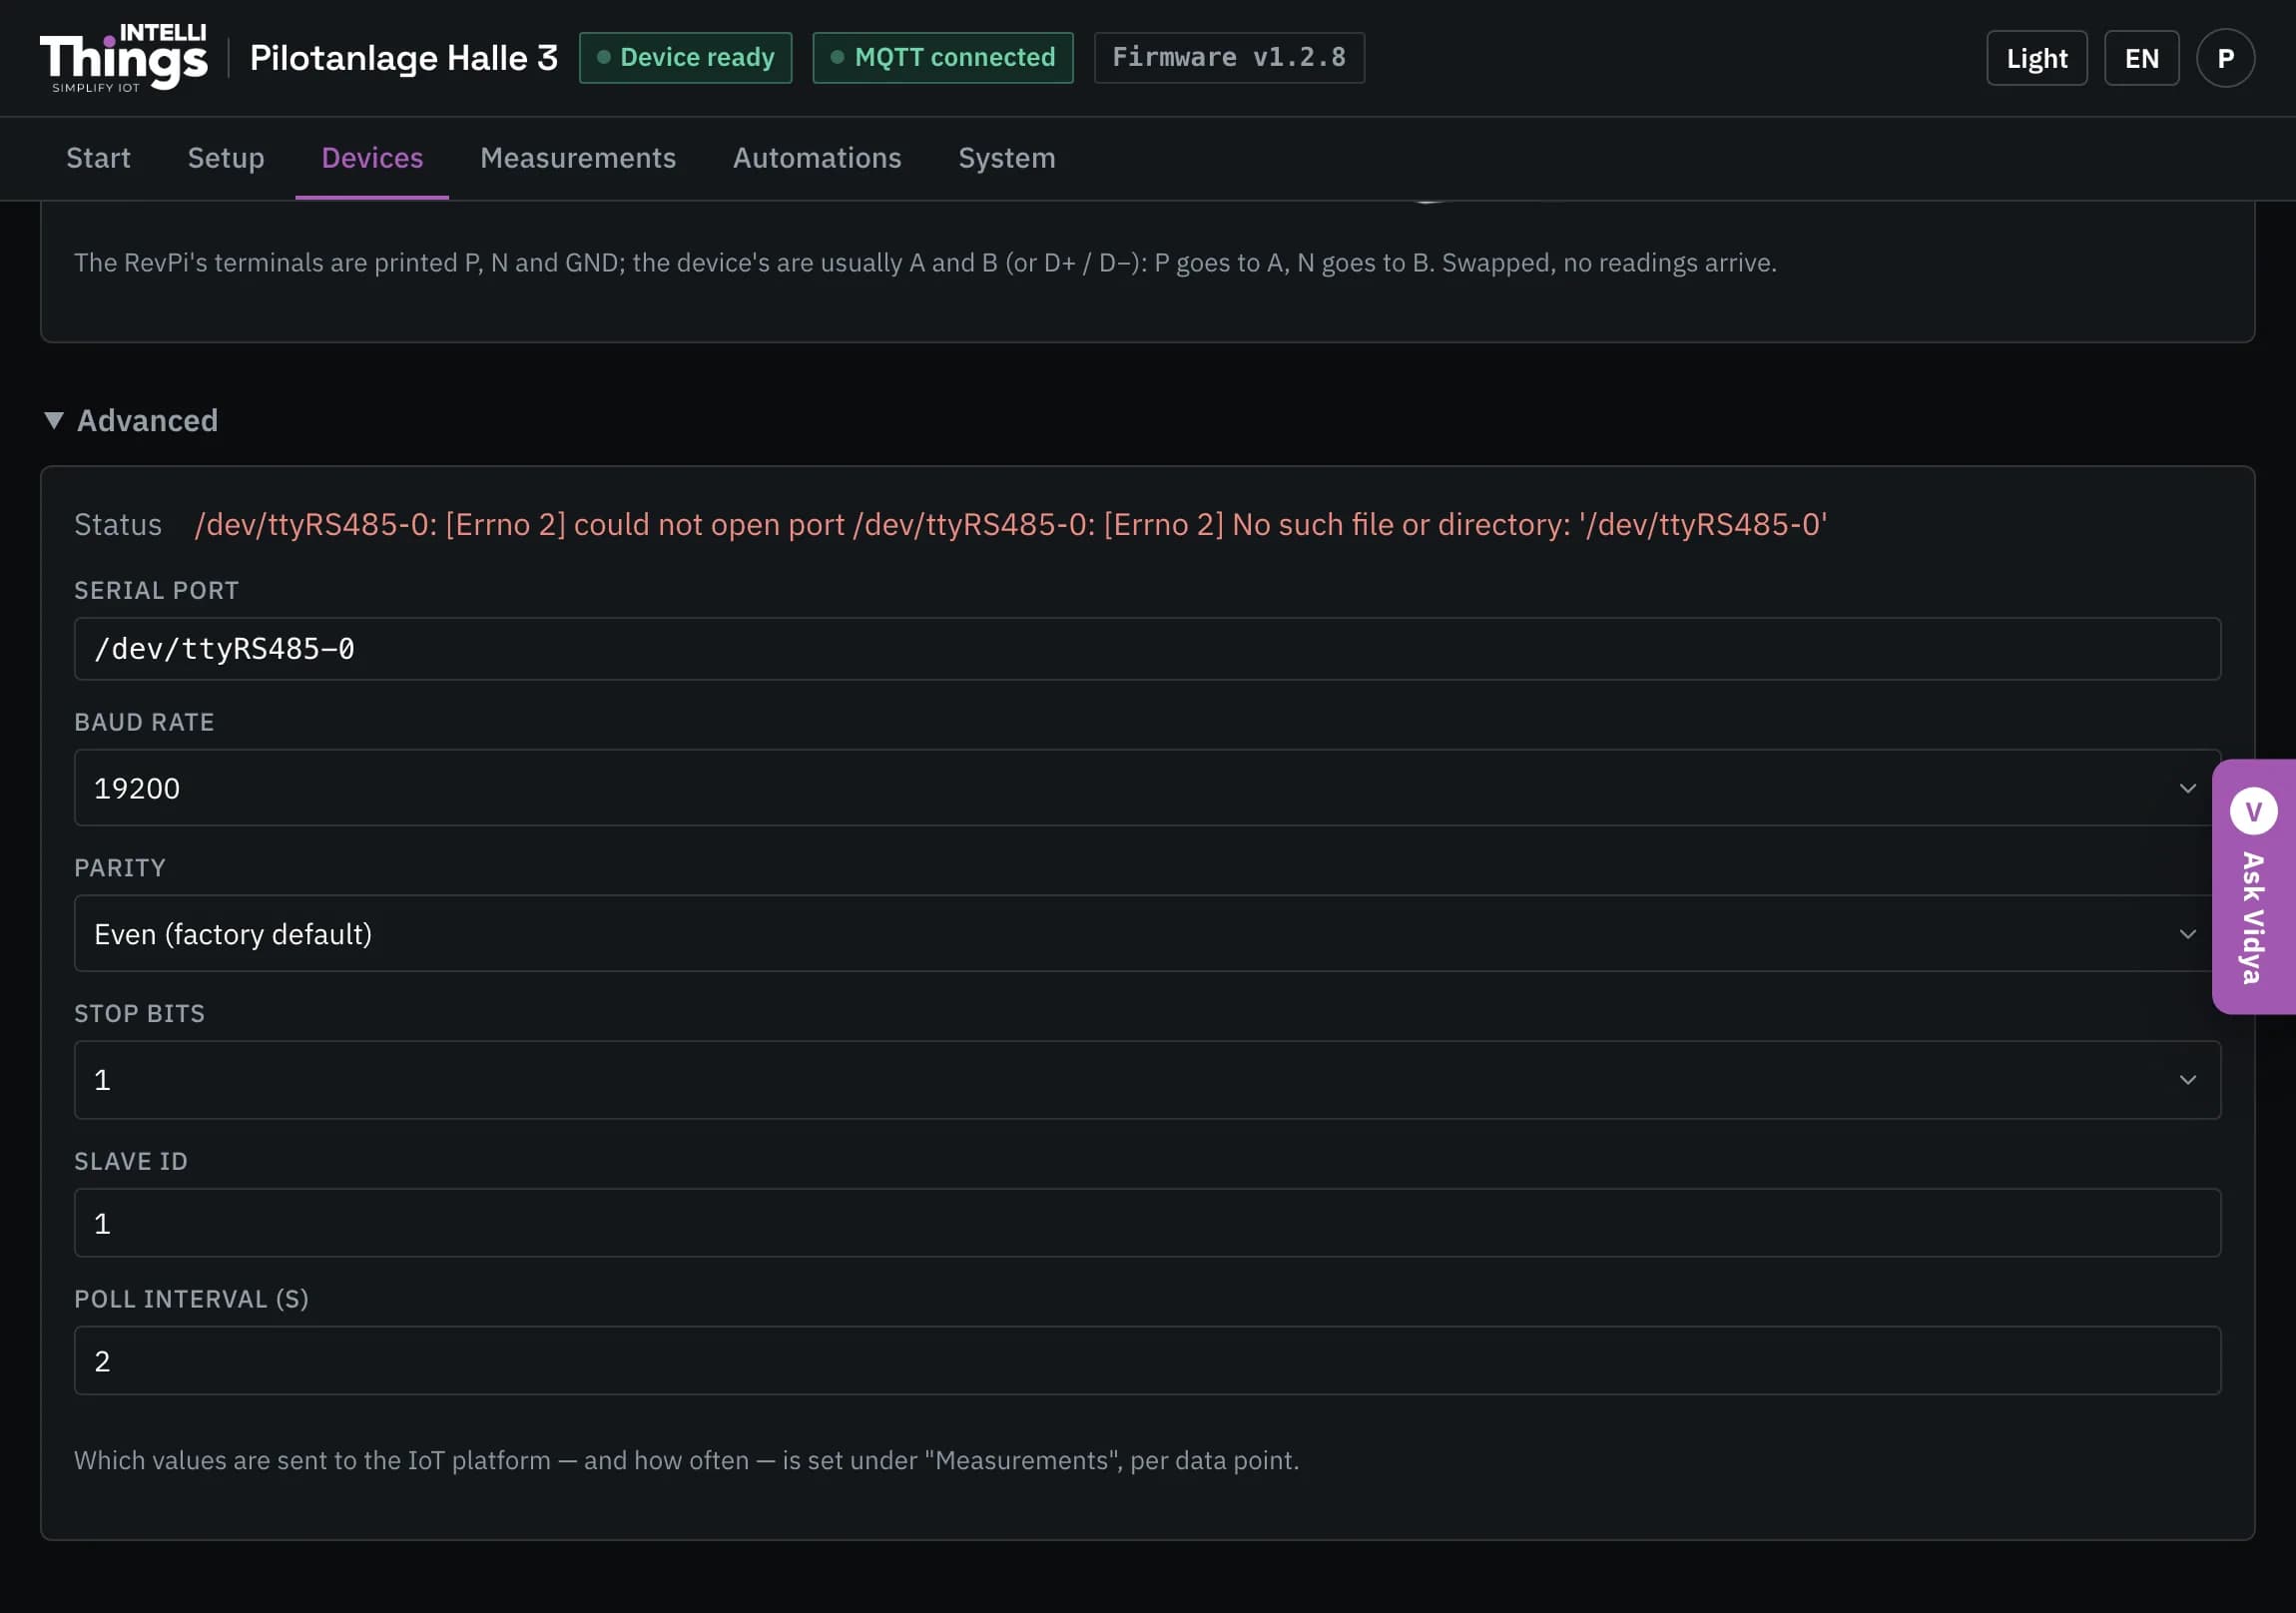
| Field | Default | Meaning |
|---|---|---|
| Status | — | Answering and the number of values received, or the reason the meter is not responding. |
| Serial port | /dev/ttyRS485-0 | The RevPi’s RS485 port. |
| Baud rate / Parity / Stop bits | 19200 · even · 1 | Communication speed and serial format. These must match the settings shown on the meter’s display. |
| Slave ID | 1 | Device address configured on the meter. |
| Poll interval | 2 s | How often the RevPi requests new readings from the meter. |
The RevPi handles two tasks automatically:
- Detecting communication settings: if the meter does not respond, the RevPi tries common serial settings. When it finds settings that work, the page displays them, for example “The meter answers at 9600 baud, parity none”. Enter these settings and save them so the RevPi can use them directly for the next connection.
- Omitting unsupported measurements: quantities that the meter does not measure are excluded, rather than sent as invalid values.
DGT1 weighing transmitter
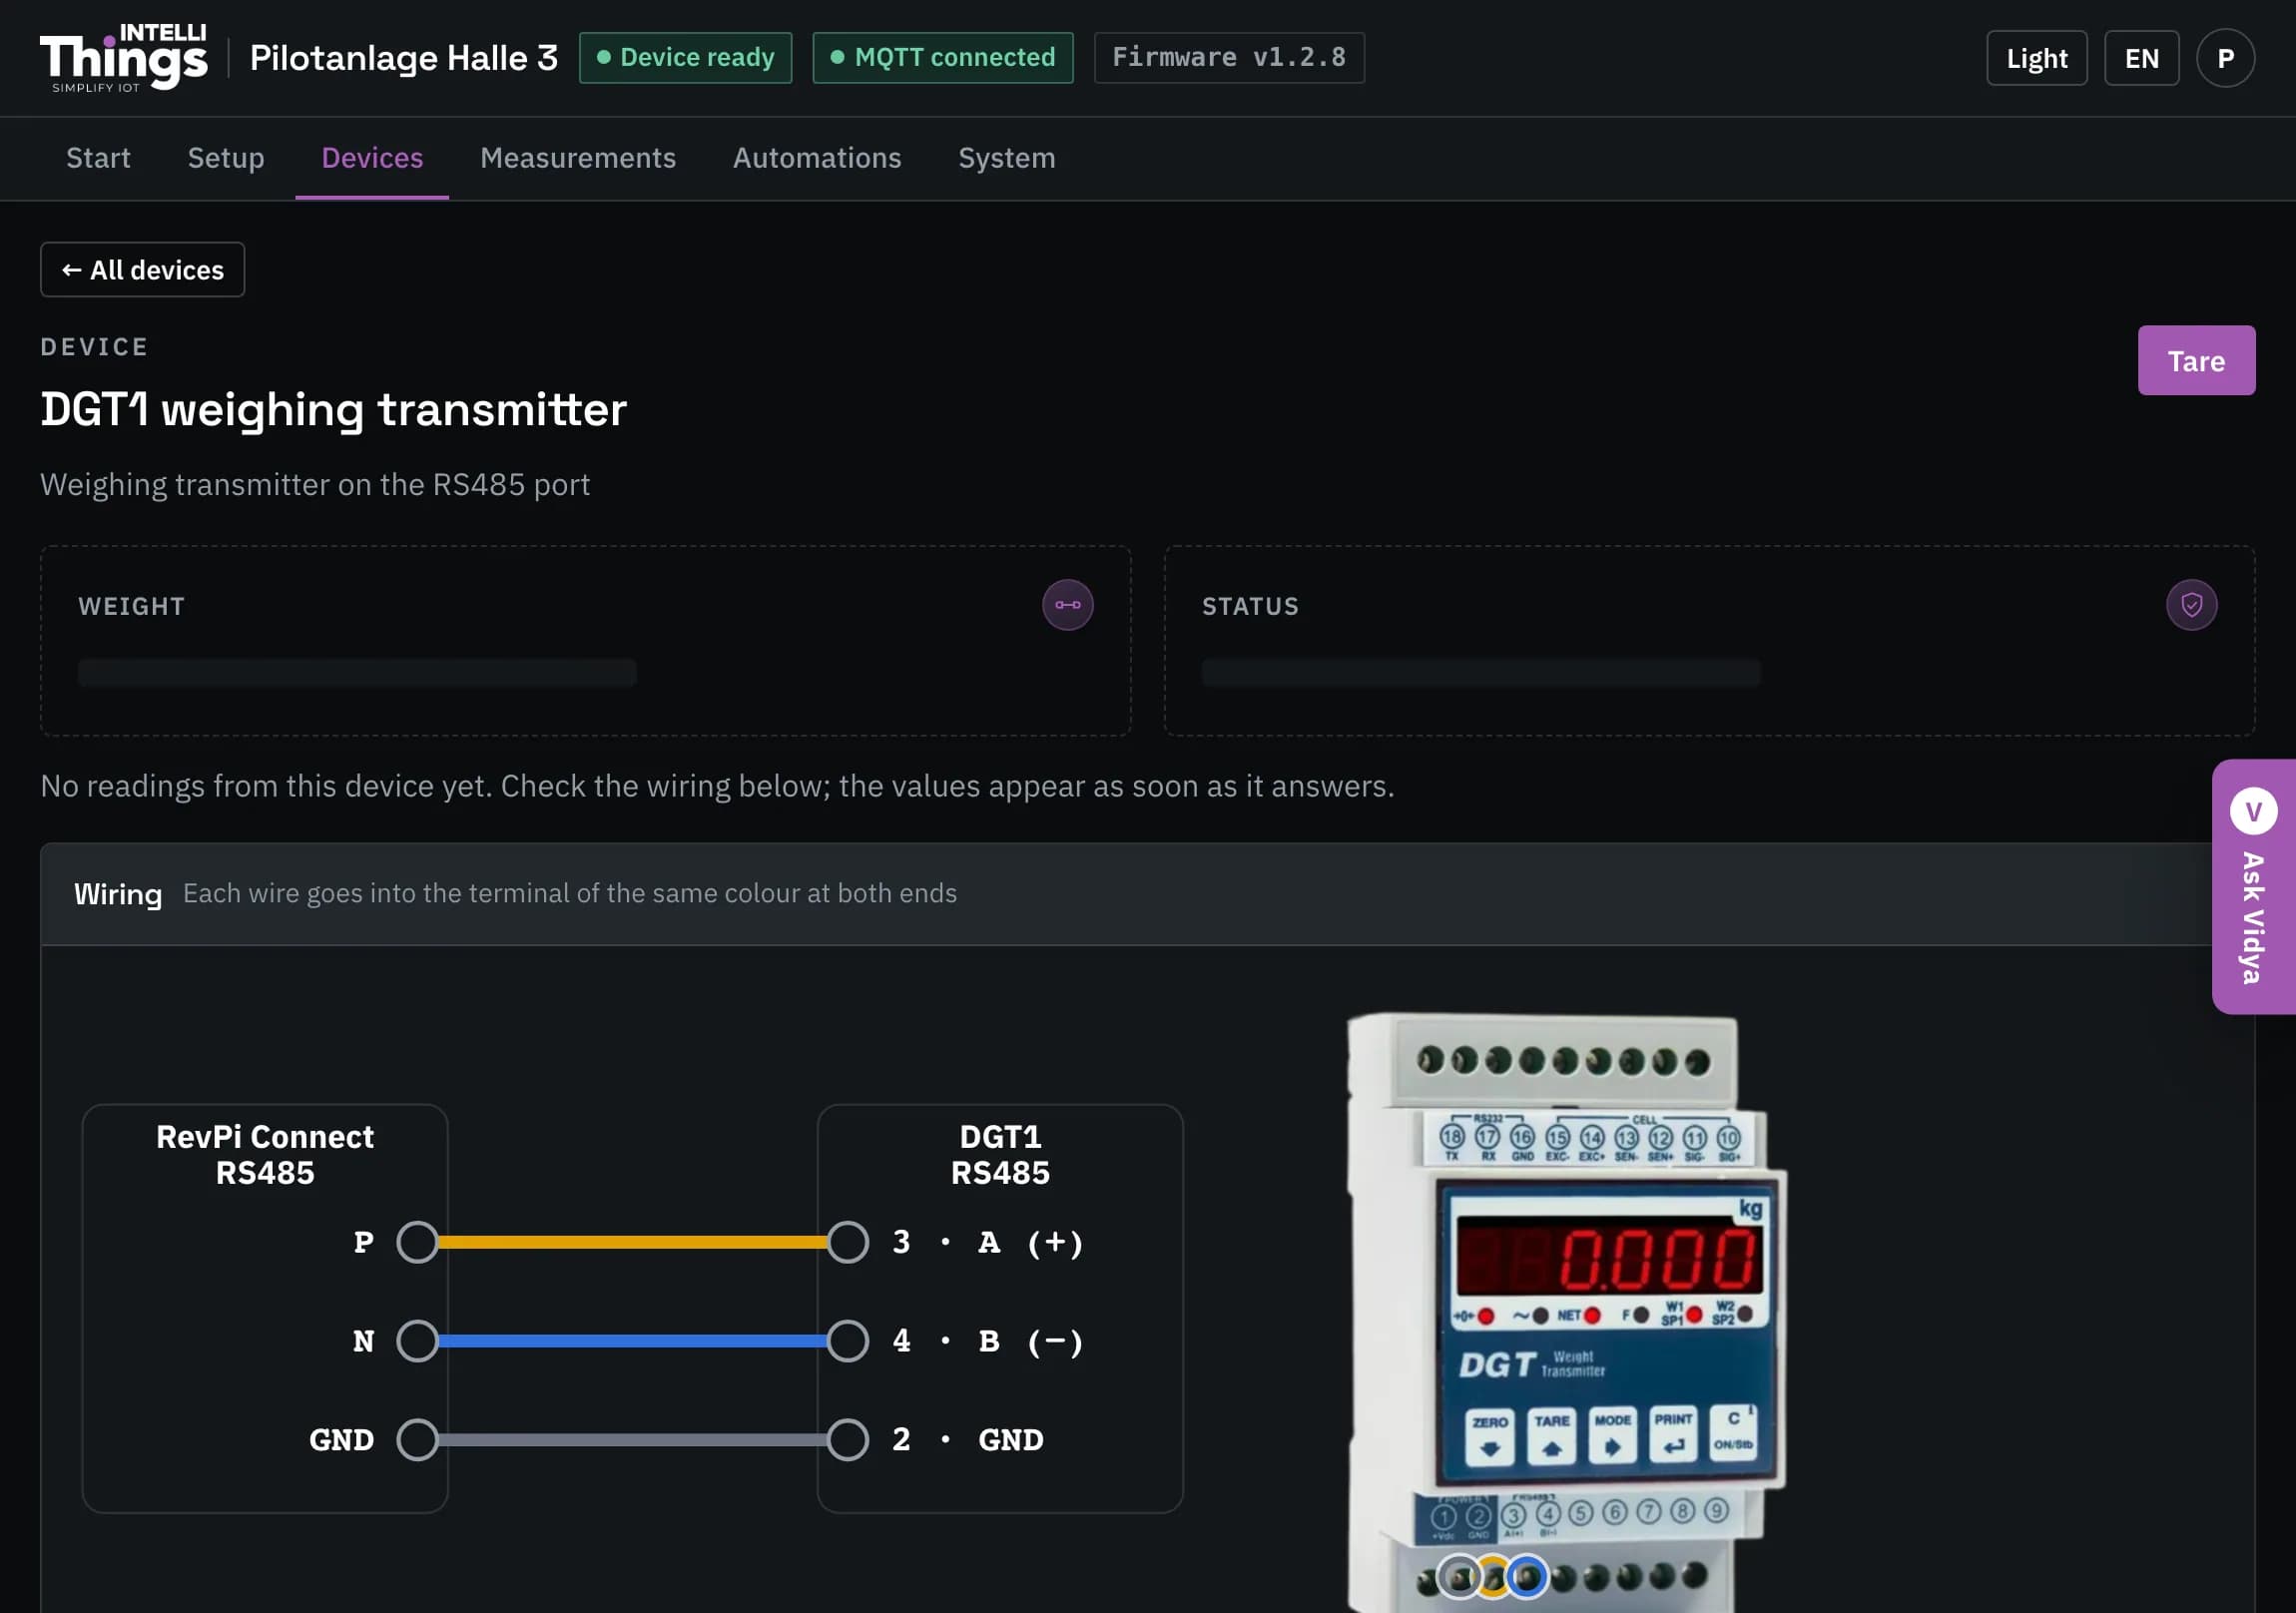
The page shows the weight, its status (Stable, Moving or Overload) and a wiring diagram. The Tare button is at the top.
Taring sets the current weight to zero, allowing you to exclude the weight of an empty pallet or container. Click Tare and confirm the action. It takes effect on the scale immediately after confirmation.
Wiring: connect the RevPi’s RS485 terminals to the transmitter as follows:
| RevPi terminal | Transmitter terminal |
|---|---|
| P | 3 (A+) |
| N | 4 (B−) |
| GND | 2 |
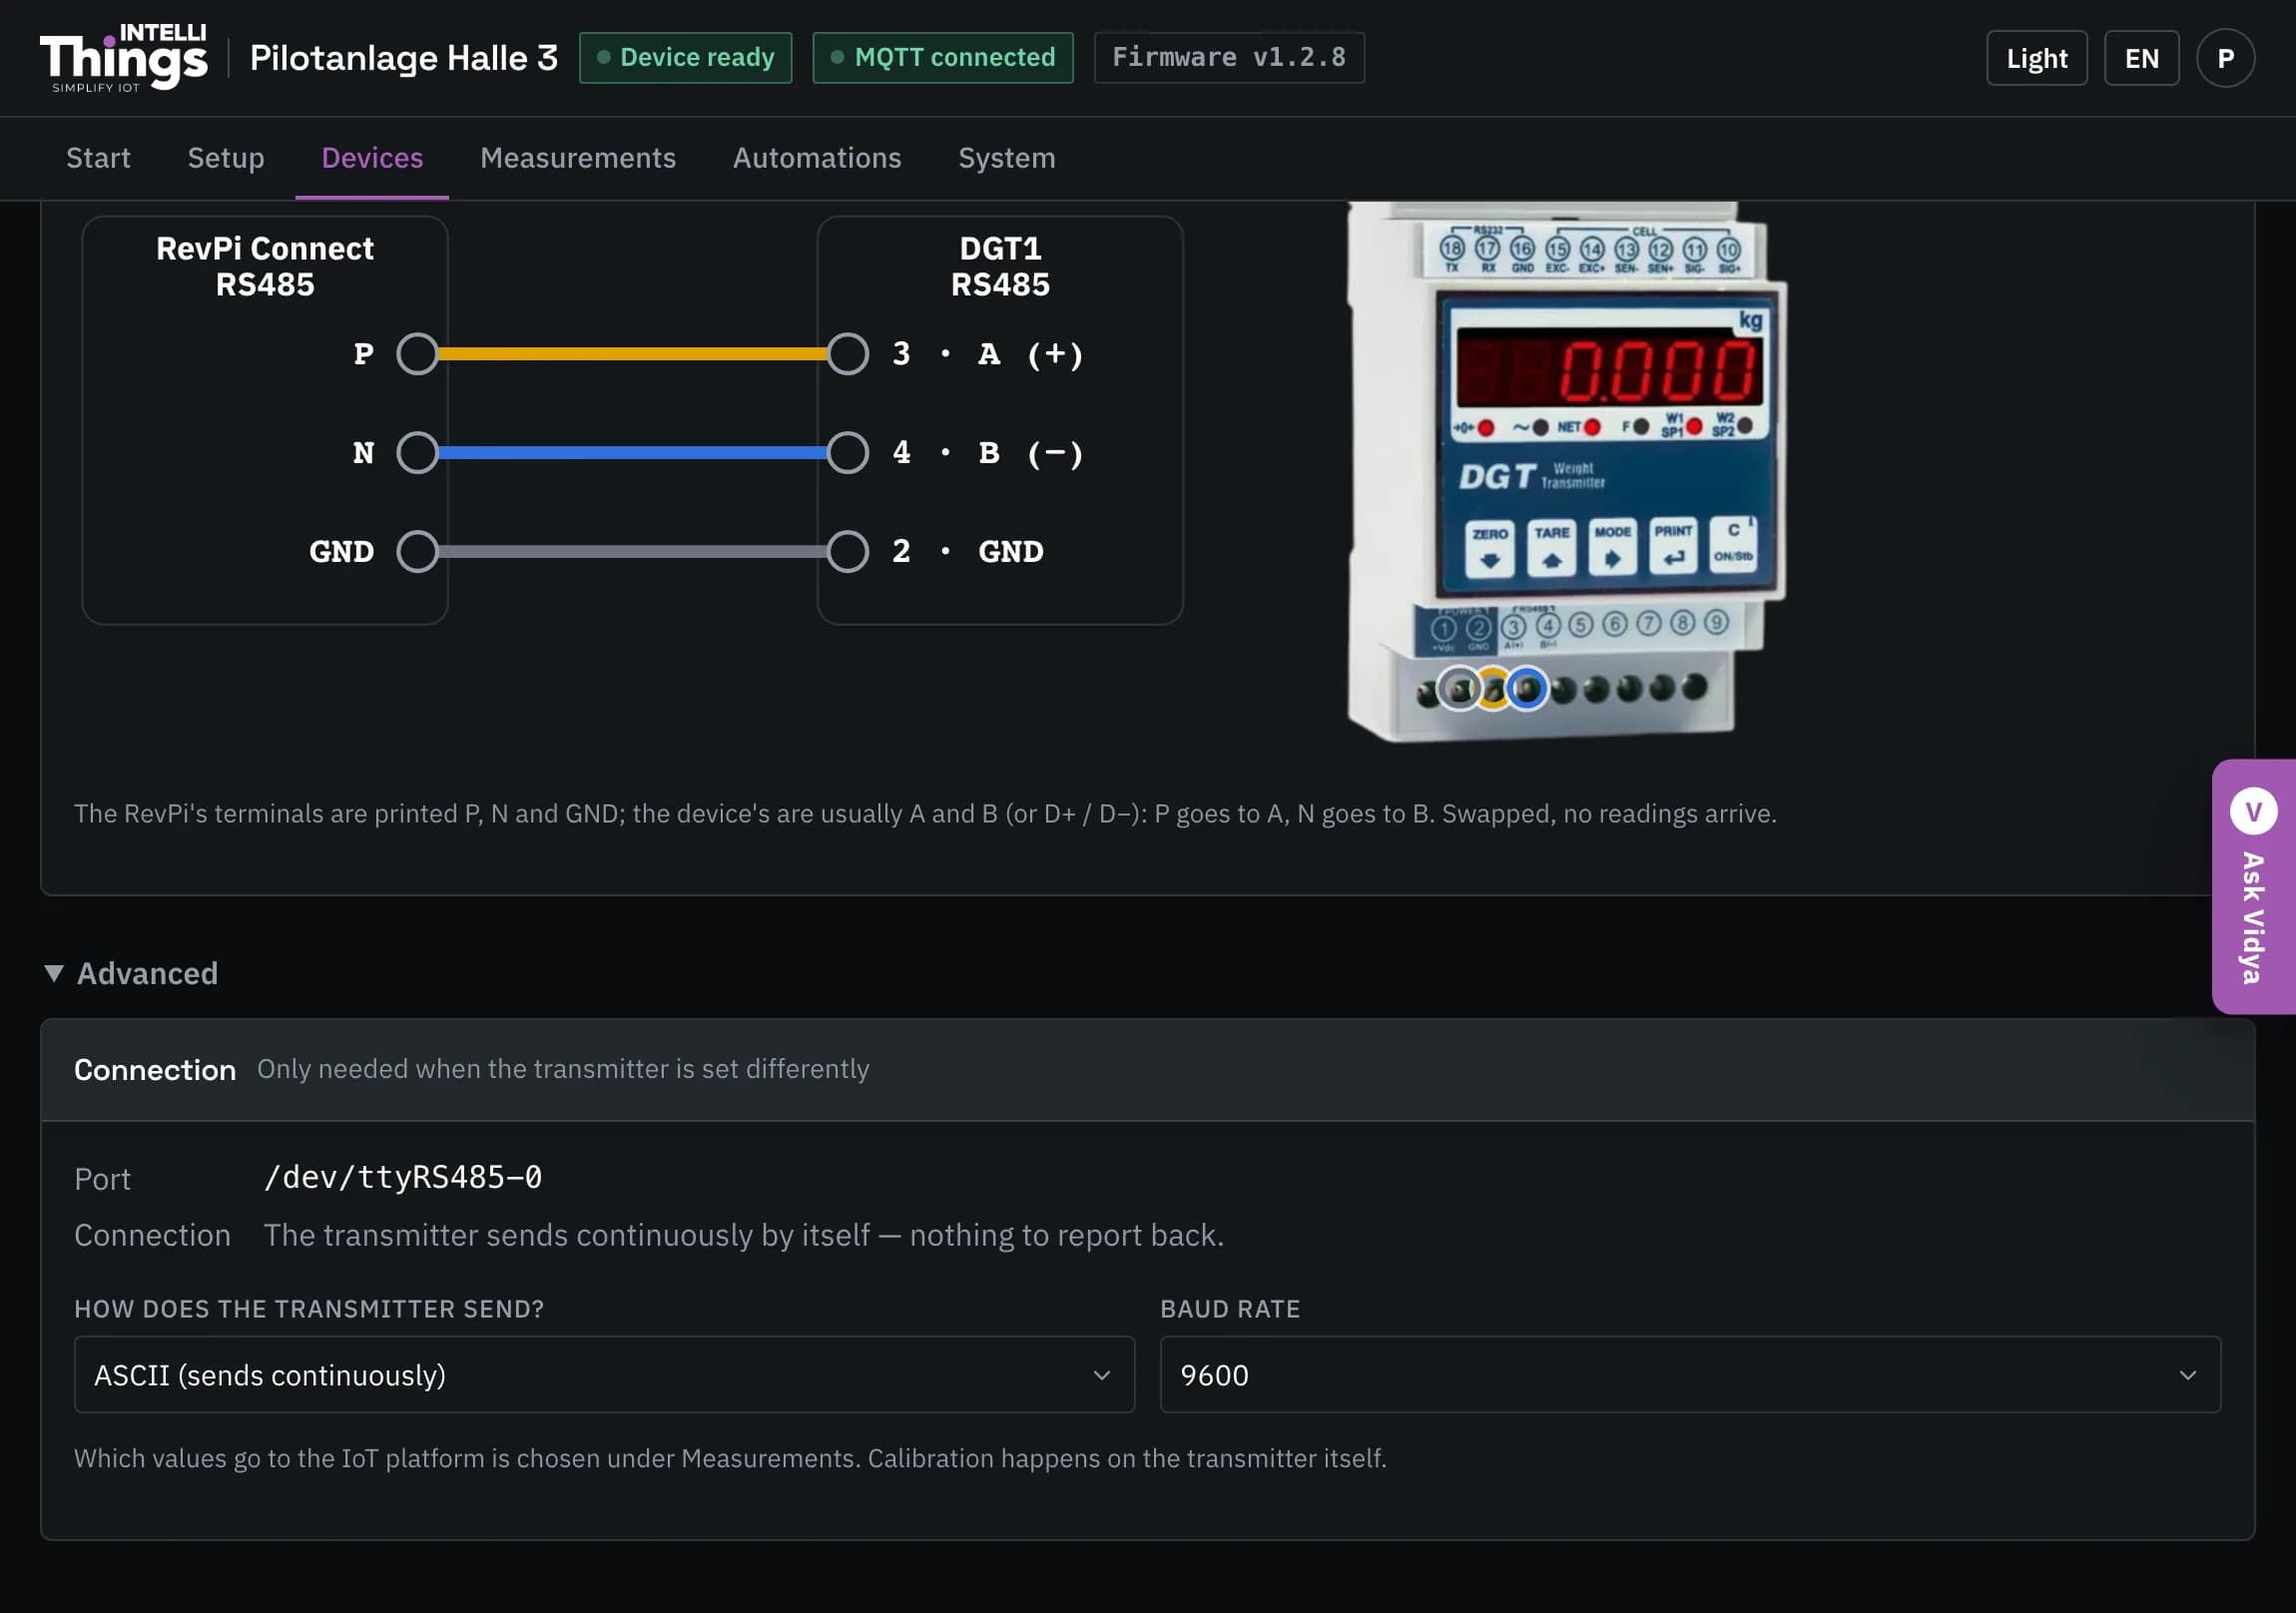
Under Advanced, set the communication mode and baud rate to match the transmitter, and check whether it is responding:
- ASCII: the transmitter sends readings continuously.
- Modbus RTU: the RevPi requests readings from the transmitter.
To calibrate the scale, use the transmitter’s front panel. Calibration is not performed in the dashboard.
Shelly relays
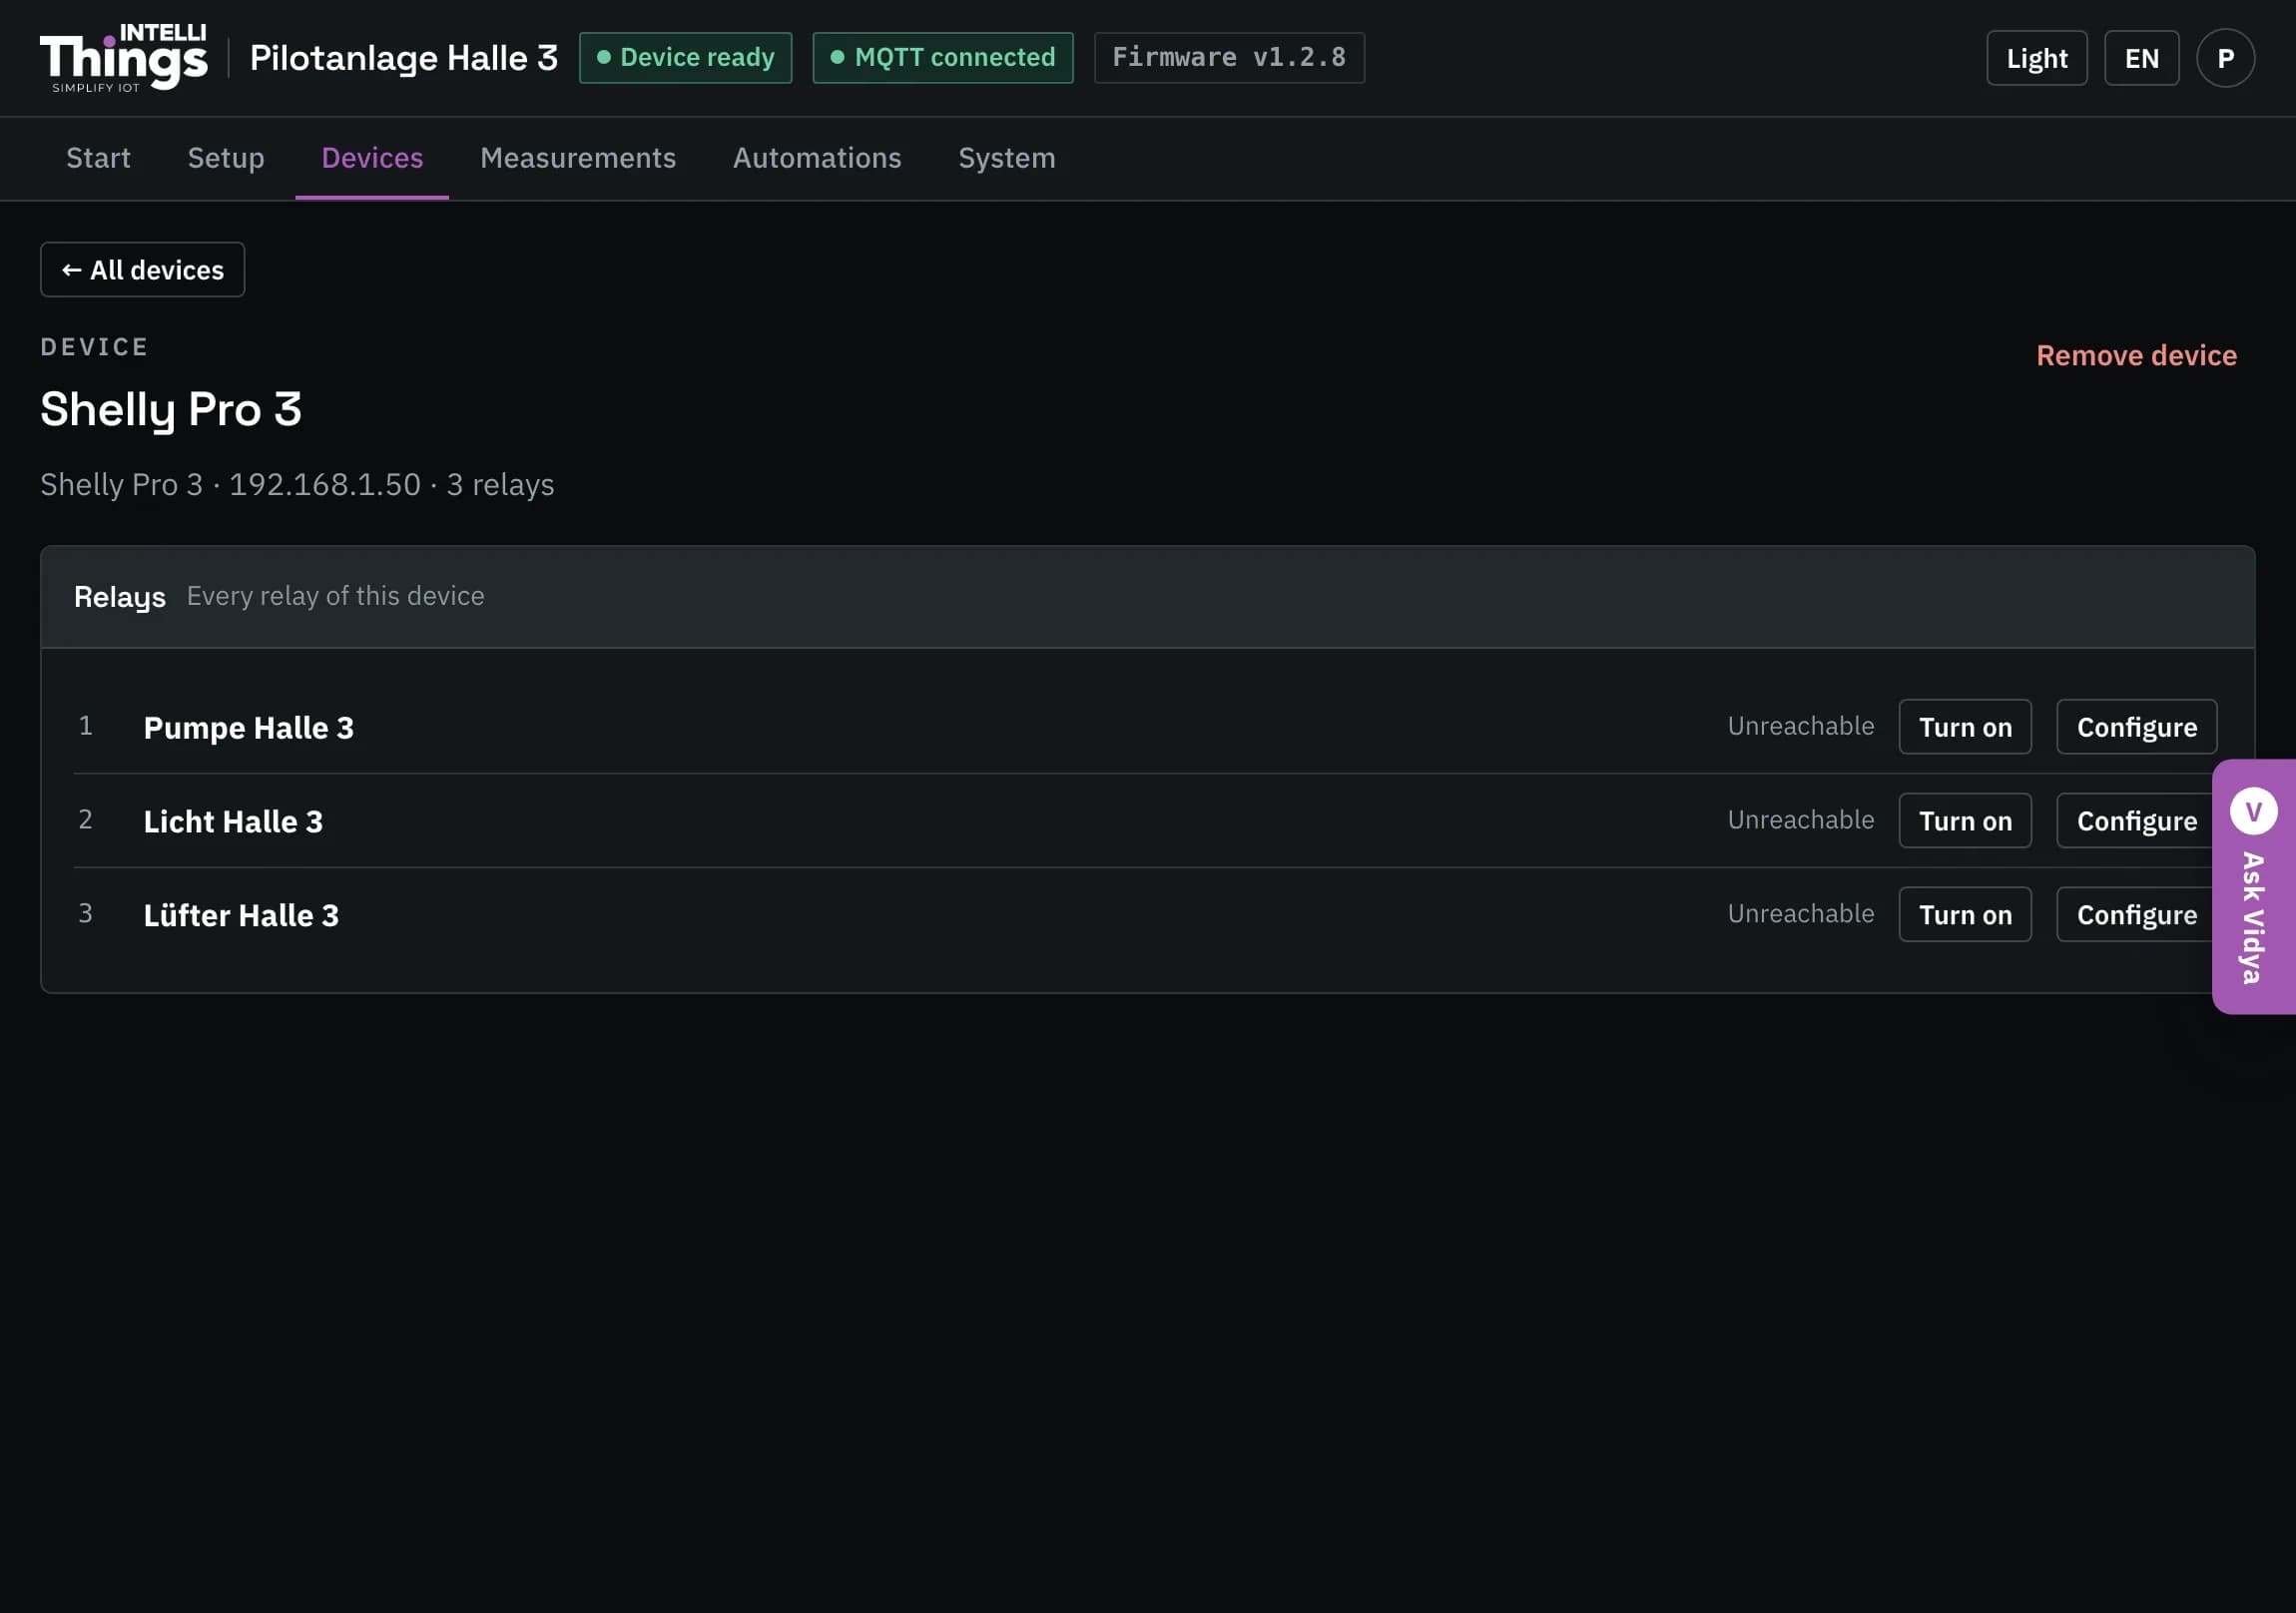
Each physical Shelly has one card and one page, regardless of the number of relays it contains. The page lists all its relays, each with its current on/off state and an on/off button.
Remove device removes the Shelly and all its relays from the configuration.
Click Configure for a relay to edit its name, model, address, channel and enabled state:
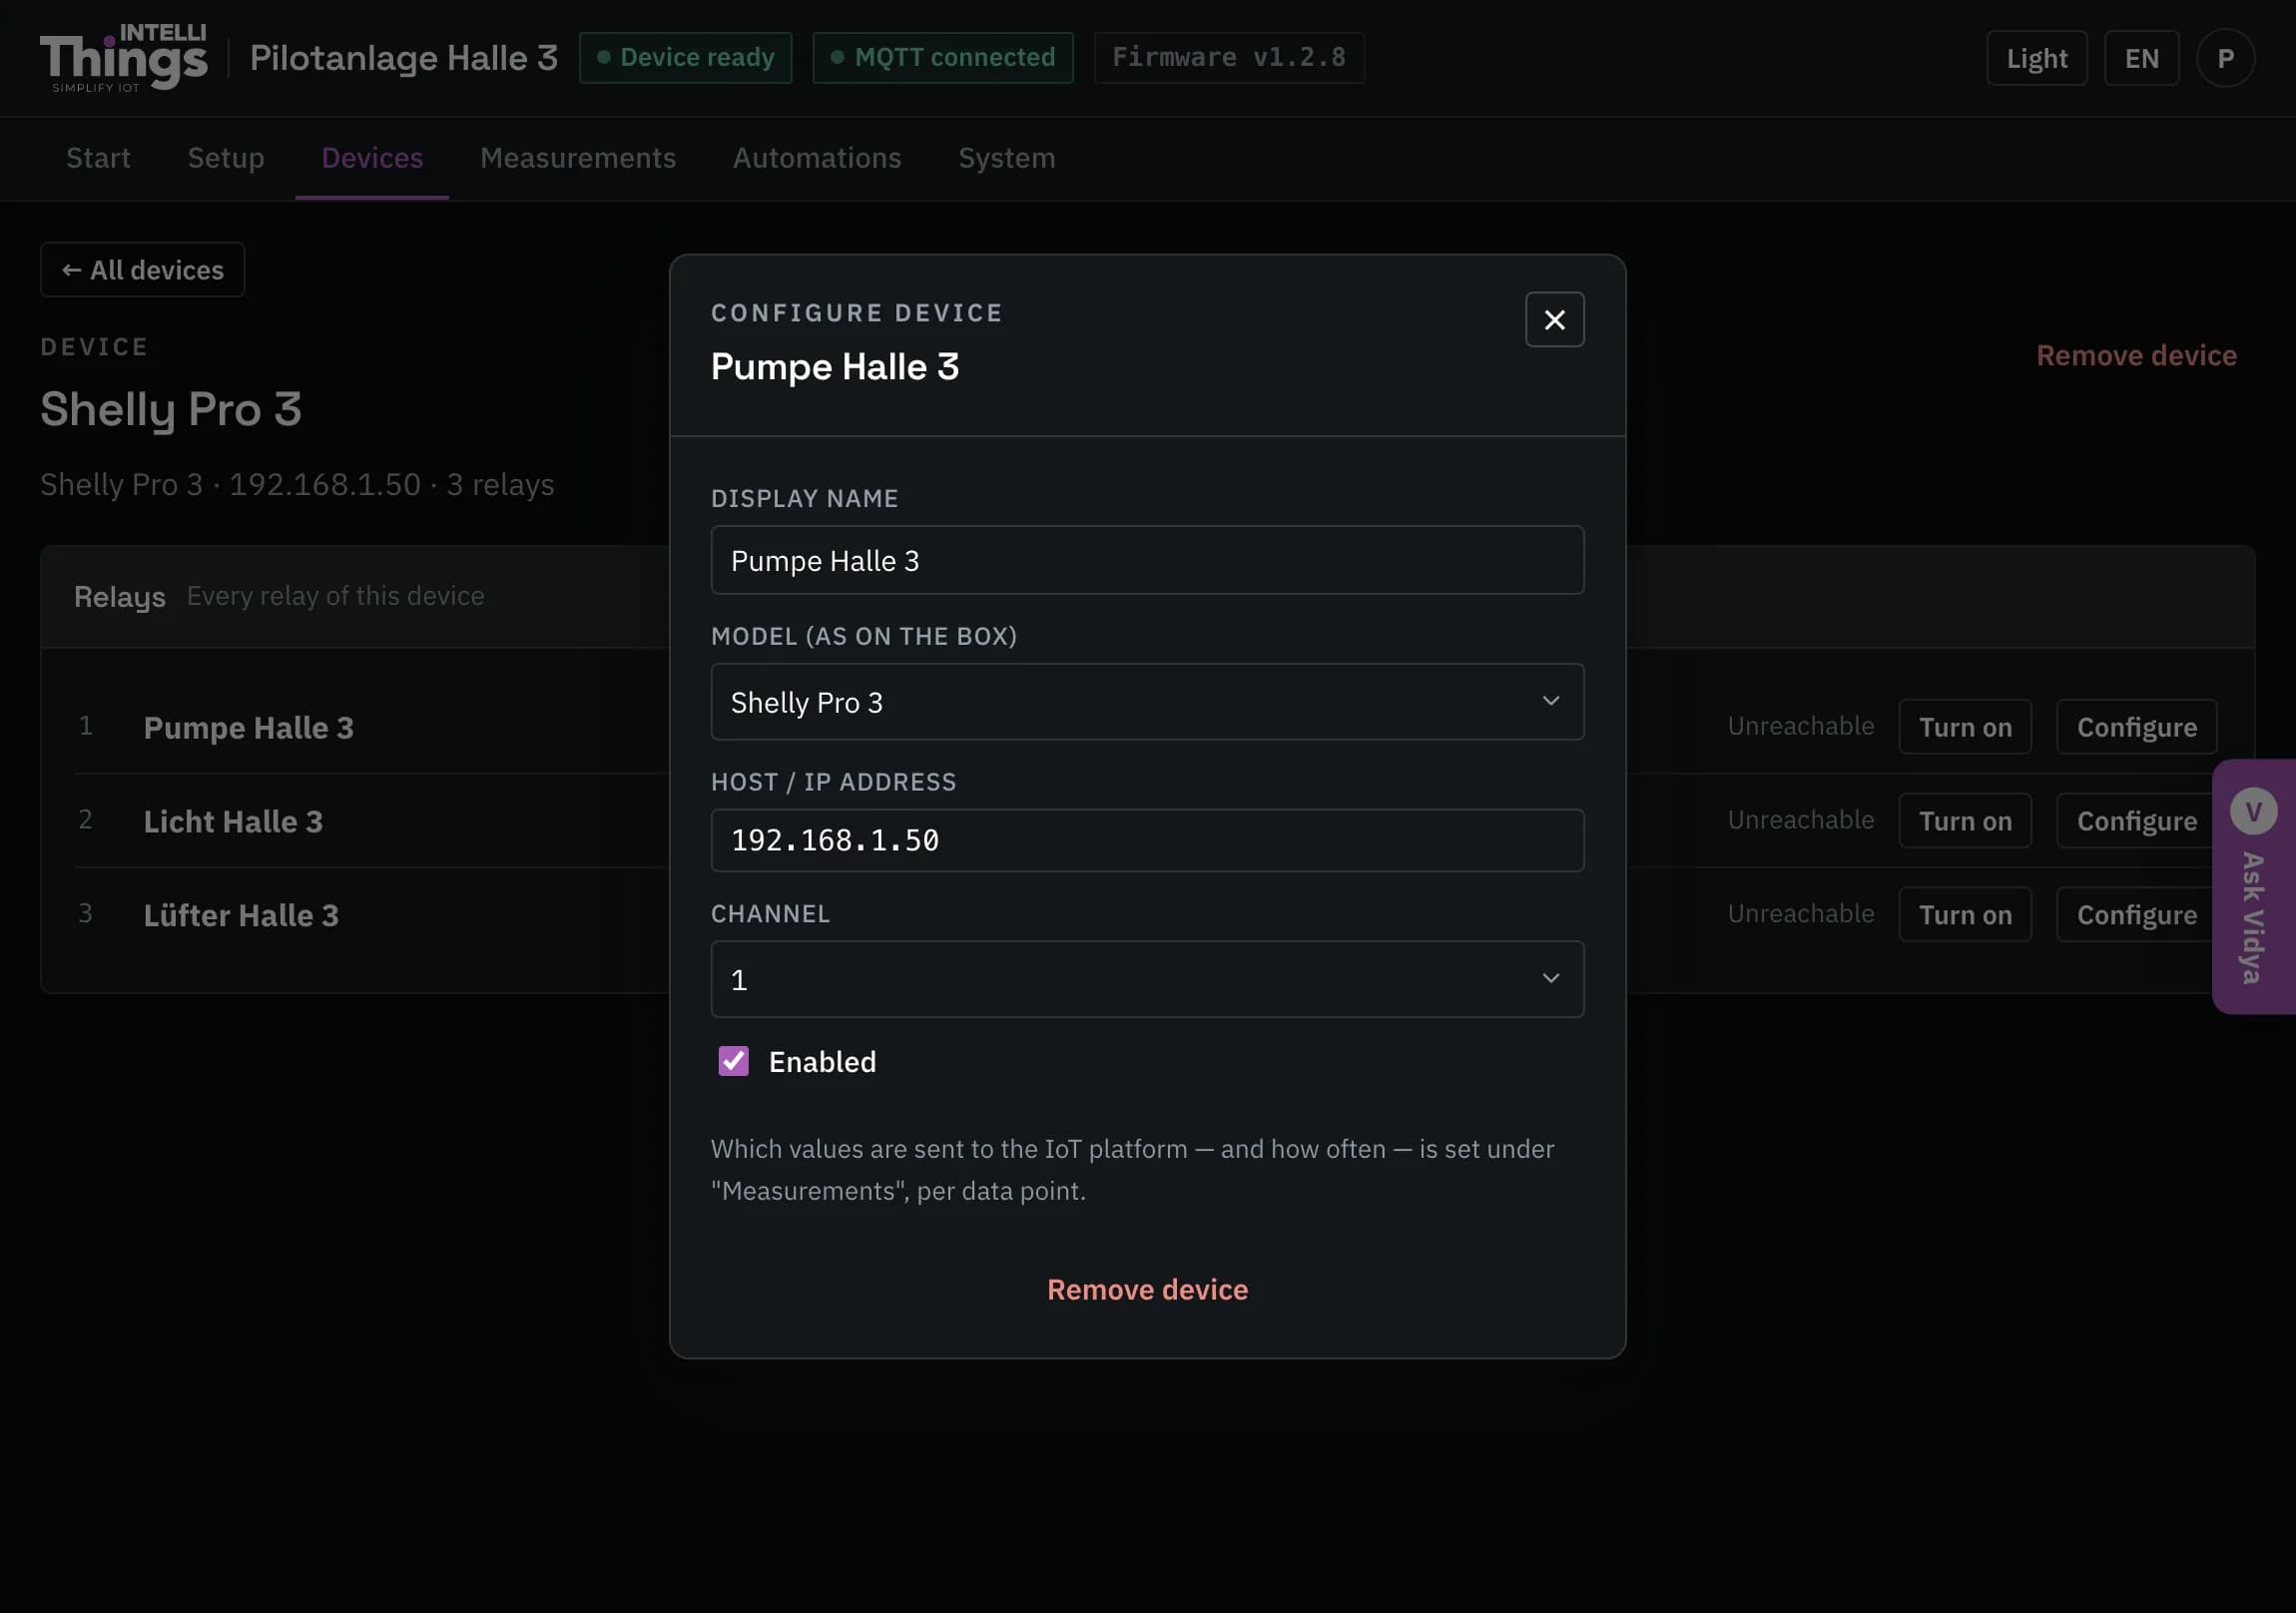
The RevPi reads the relay state every two seconds. Unreachable means the RevPi cannot reach the Shelly at its configured IP address. Check that the Shelly has power and is connected to the same network as the RevPi.
Siemens PLC (OPC UA)
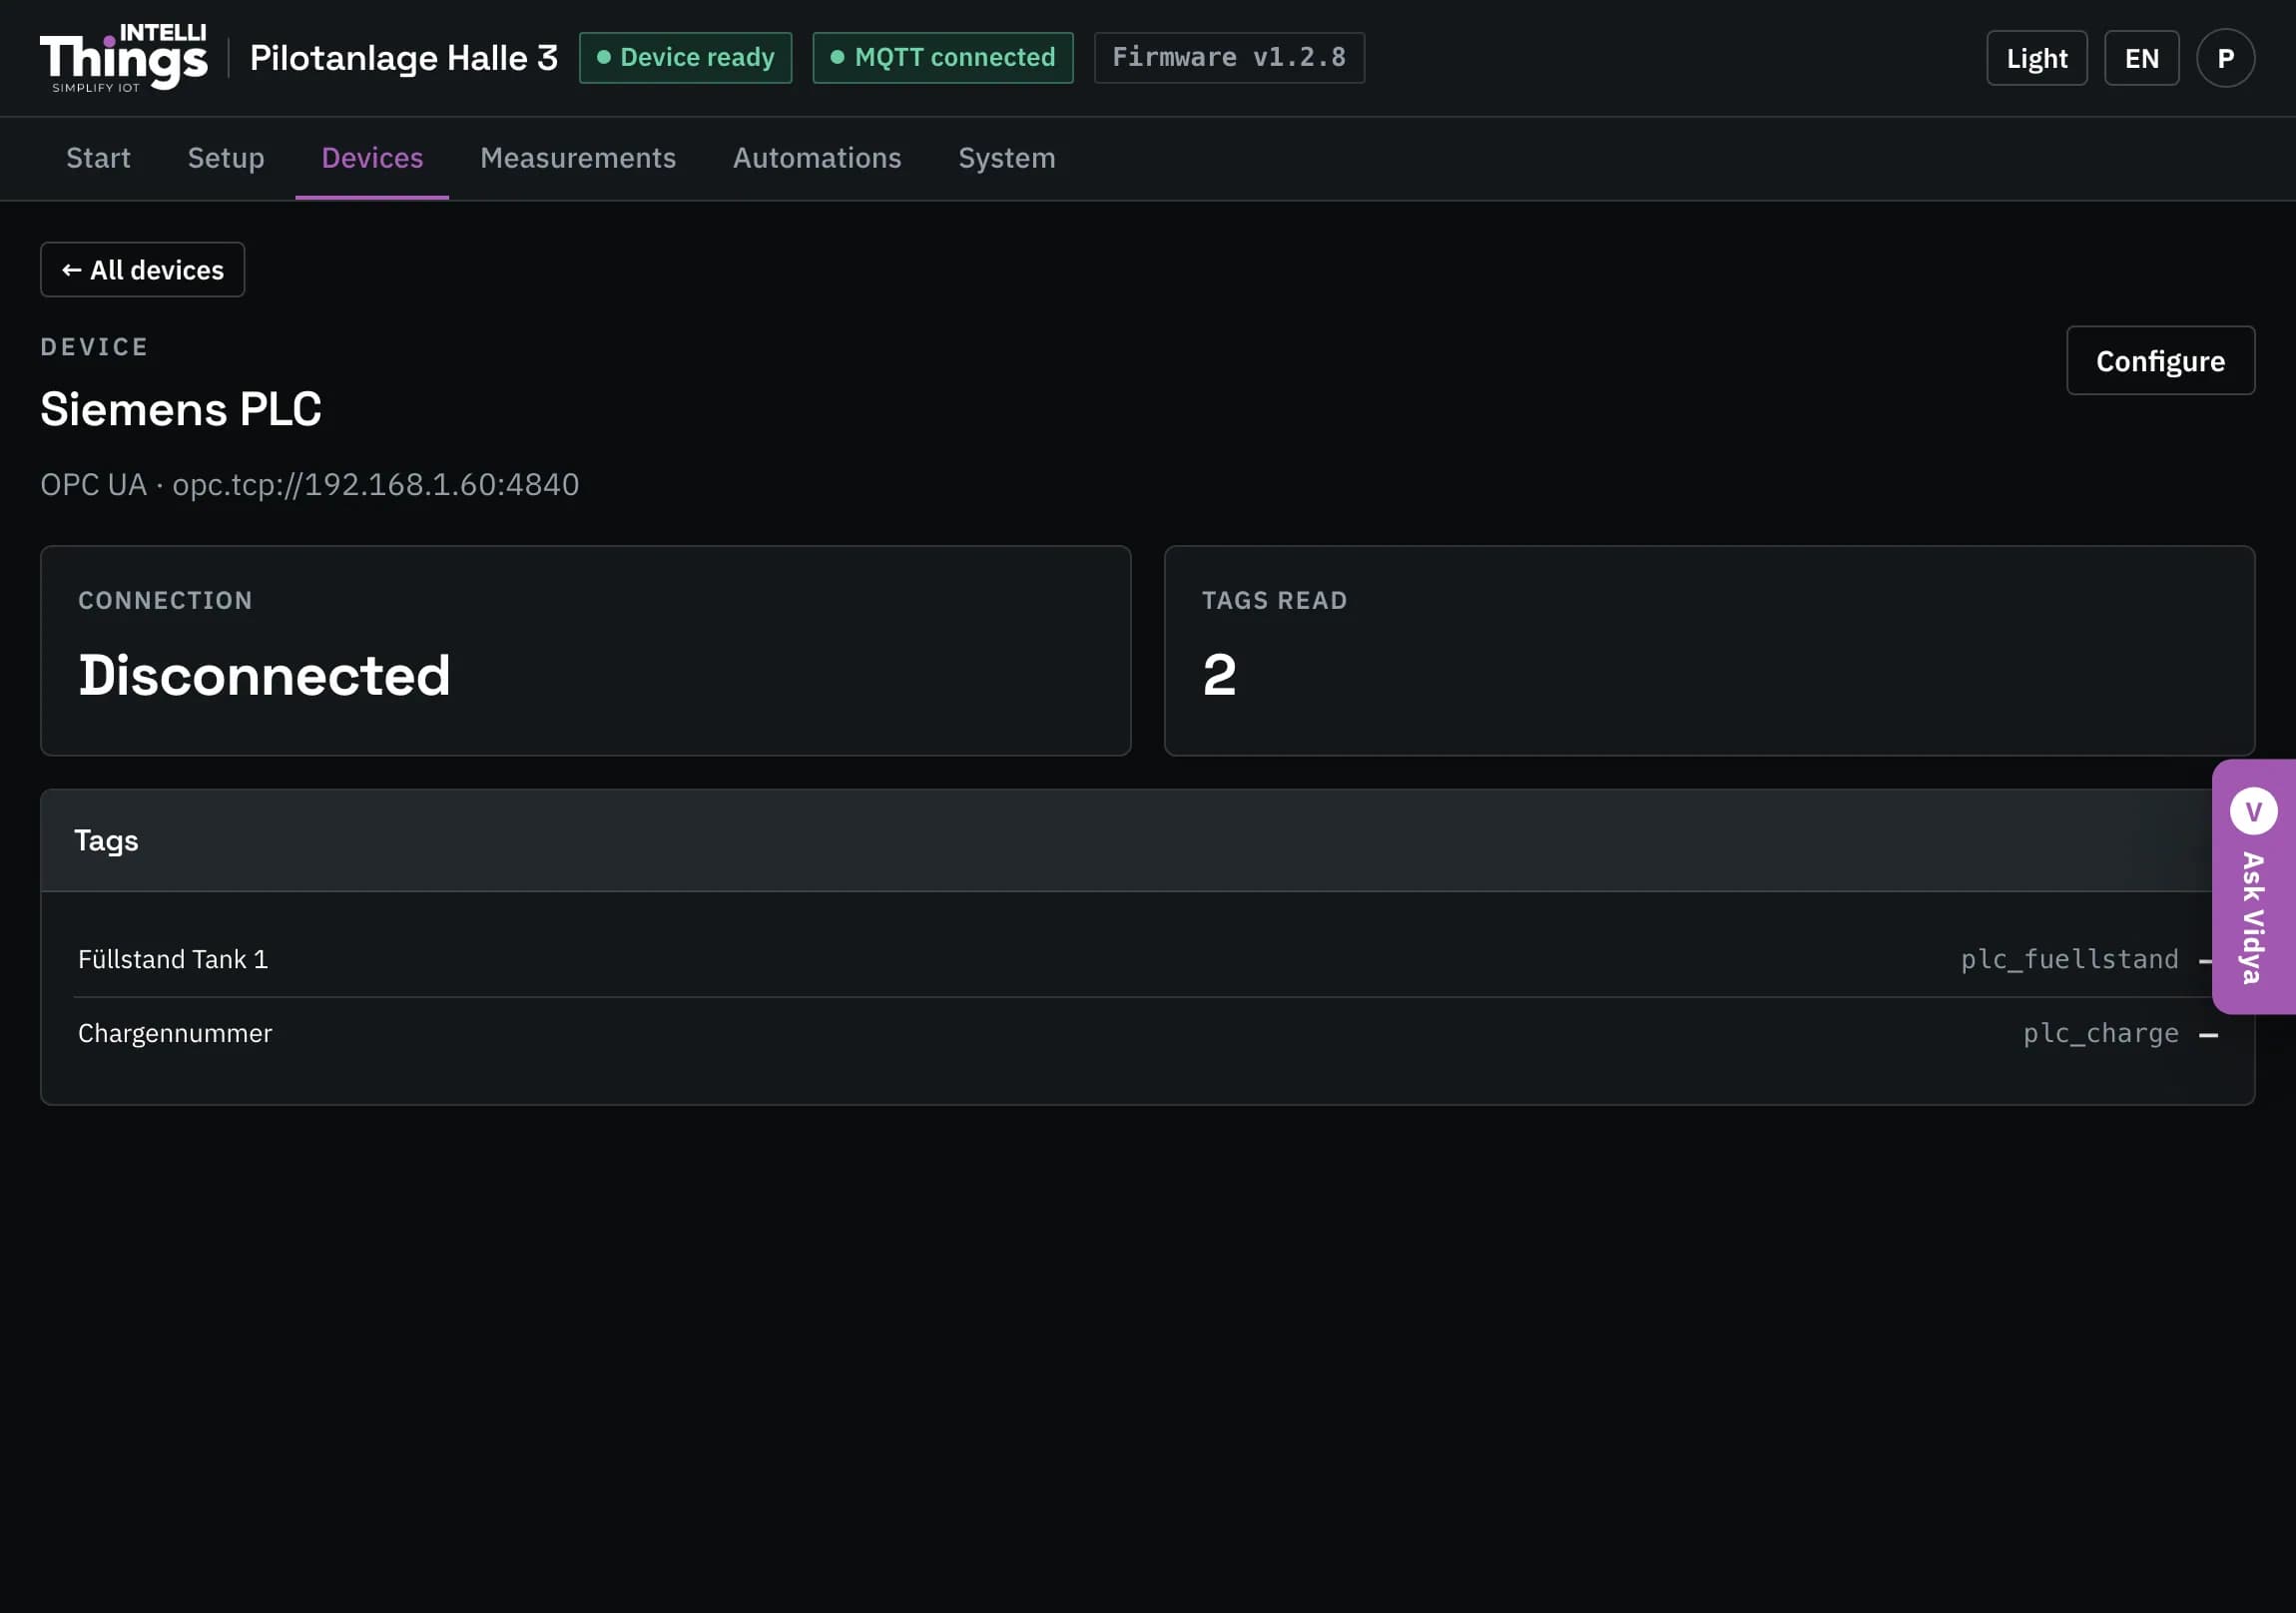
A PLC controls a machine; its values are referred to as tags. This page shows the connection status and the tags the RevPi is reading from the PLC over OPC UA.
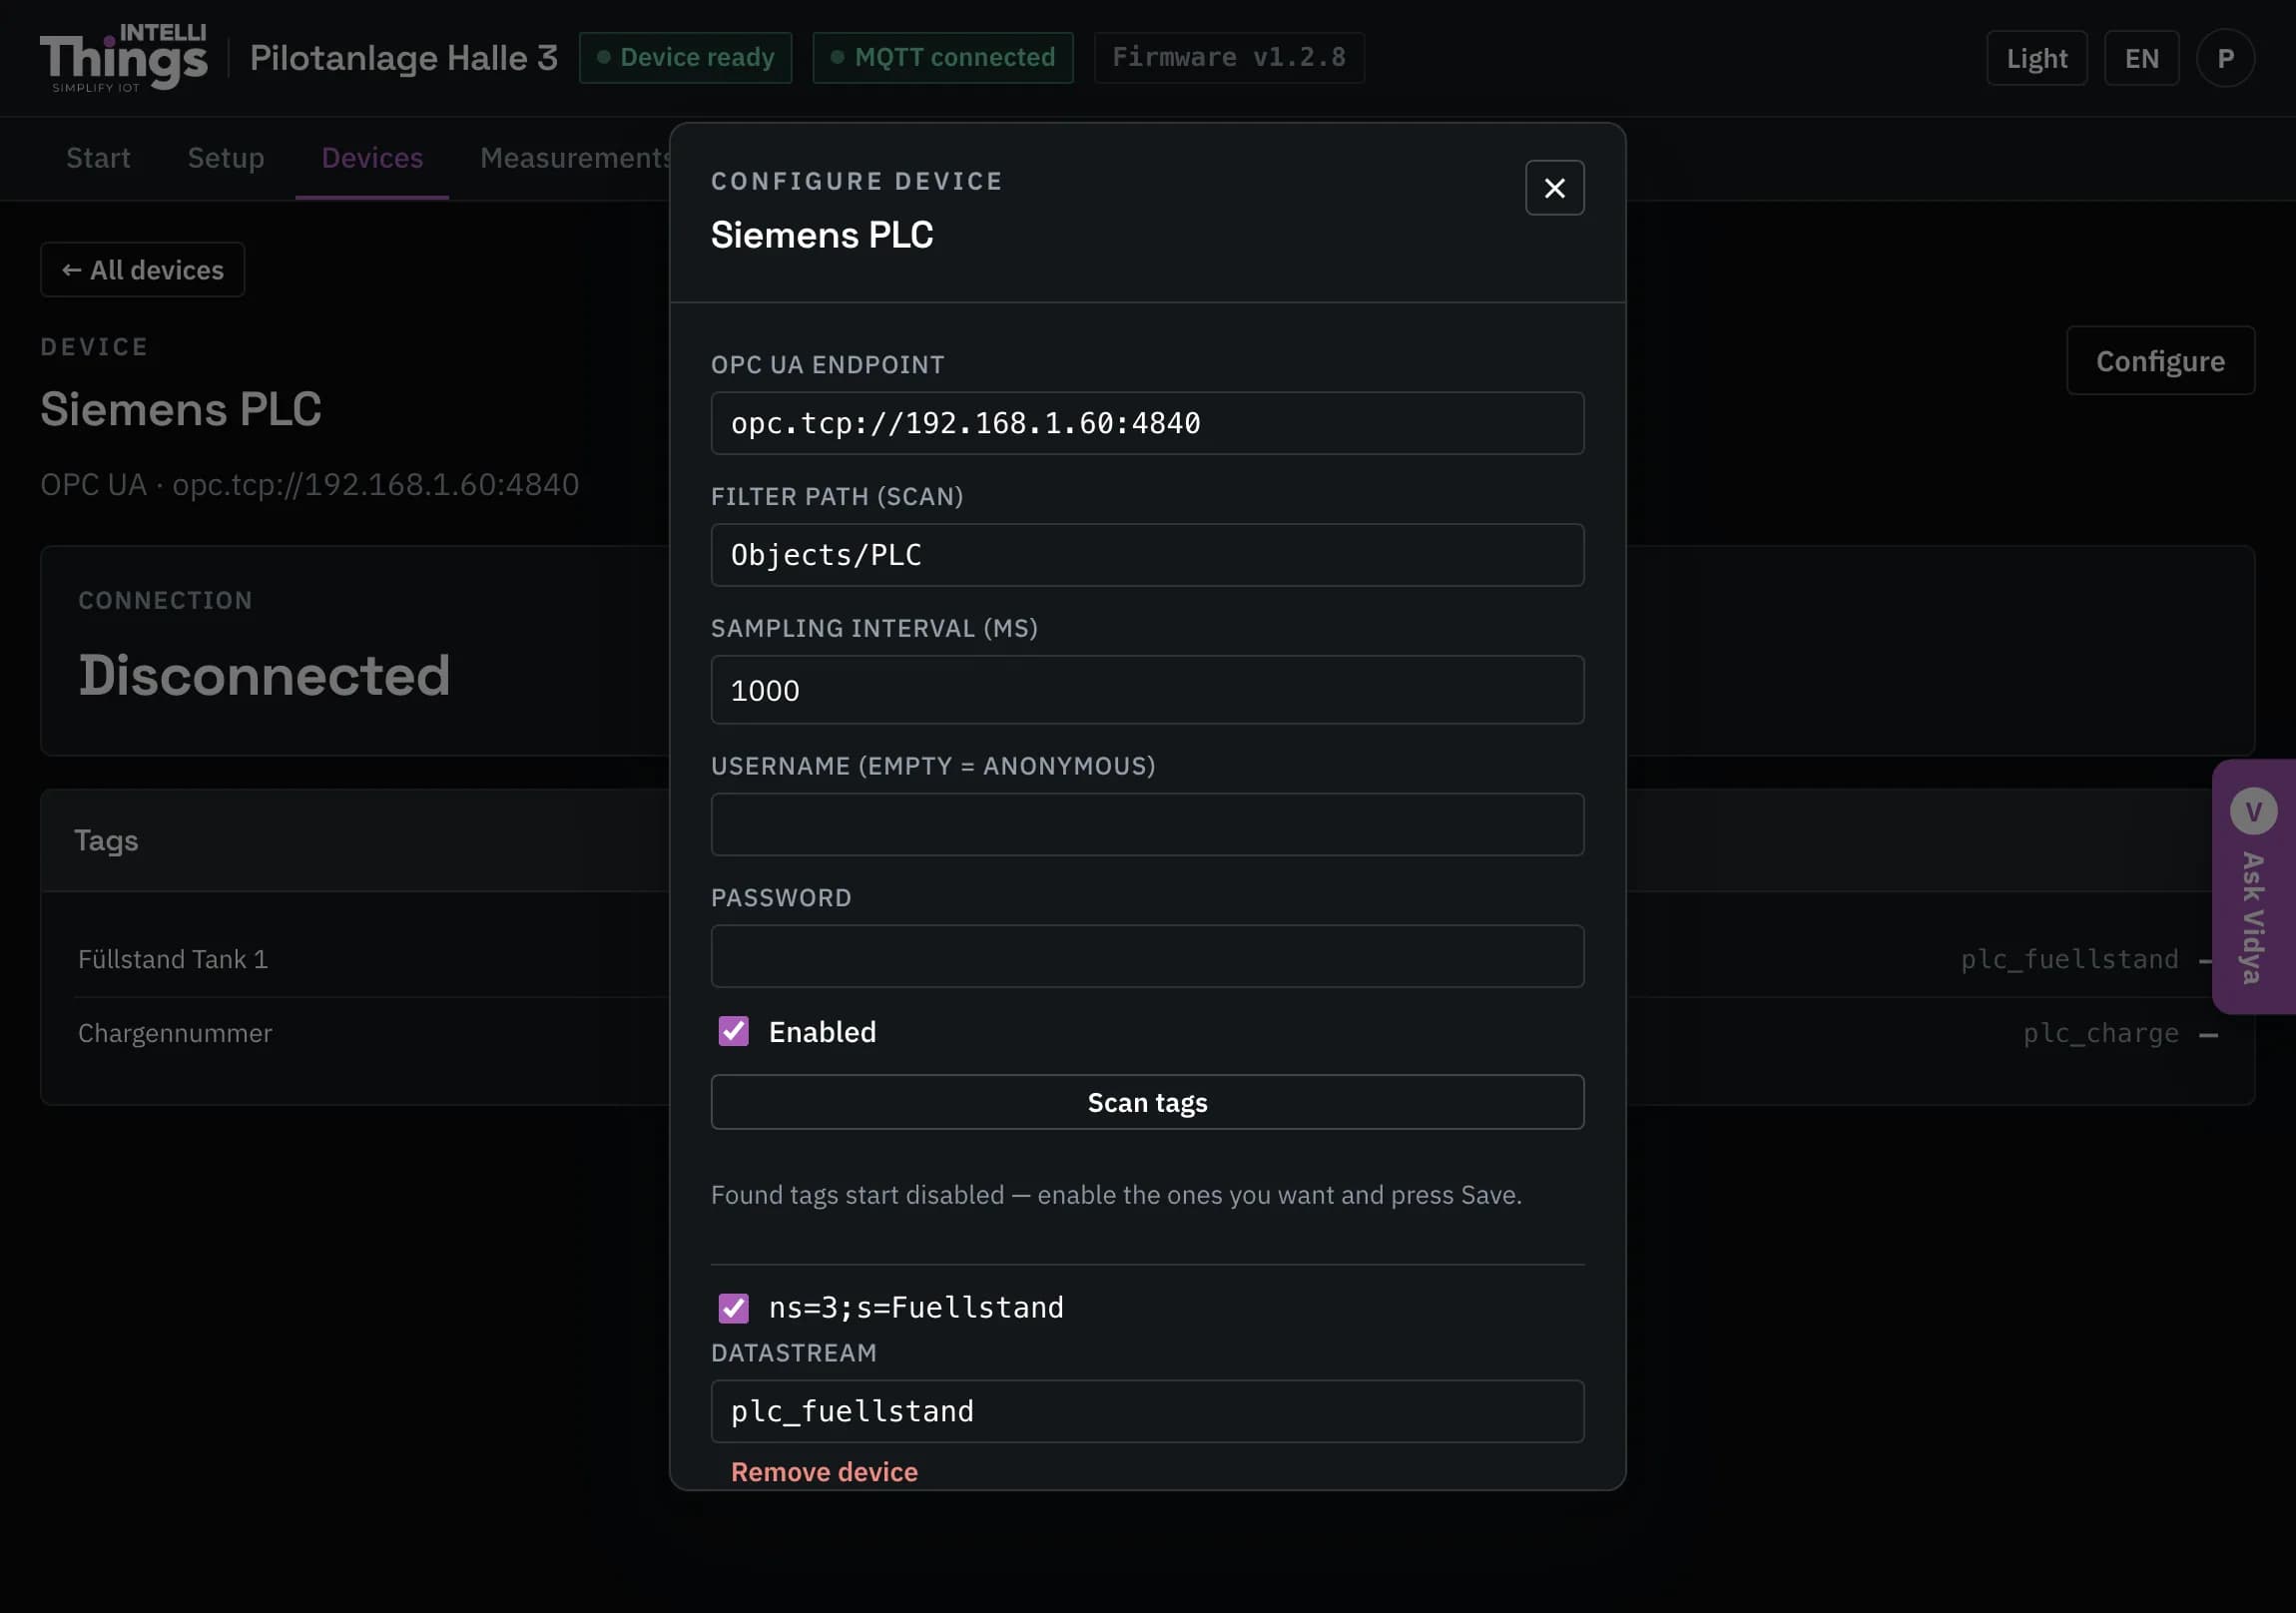
- Open Configure to set the server address, sign-in credentials and reading interval.
- Click Scan tags to list the tags found in the PLC.
- Select the tags you want to read, give them display names and save your changes.
- Open Measurements to choose which readings to send to intelliThings CORE. See Sending to the platform.
OAK camera
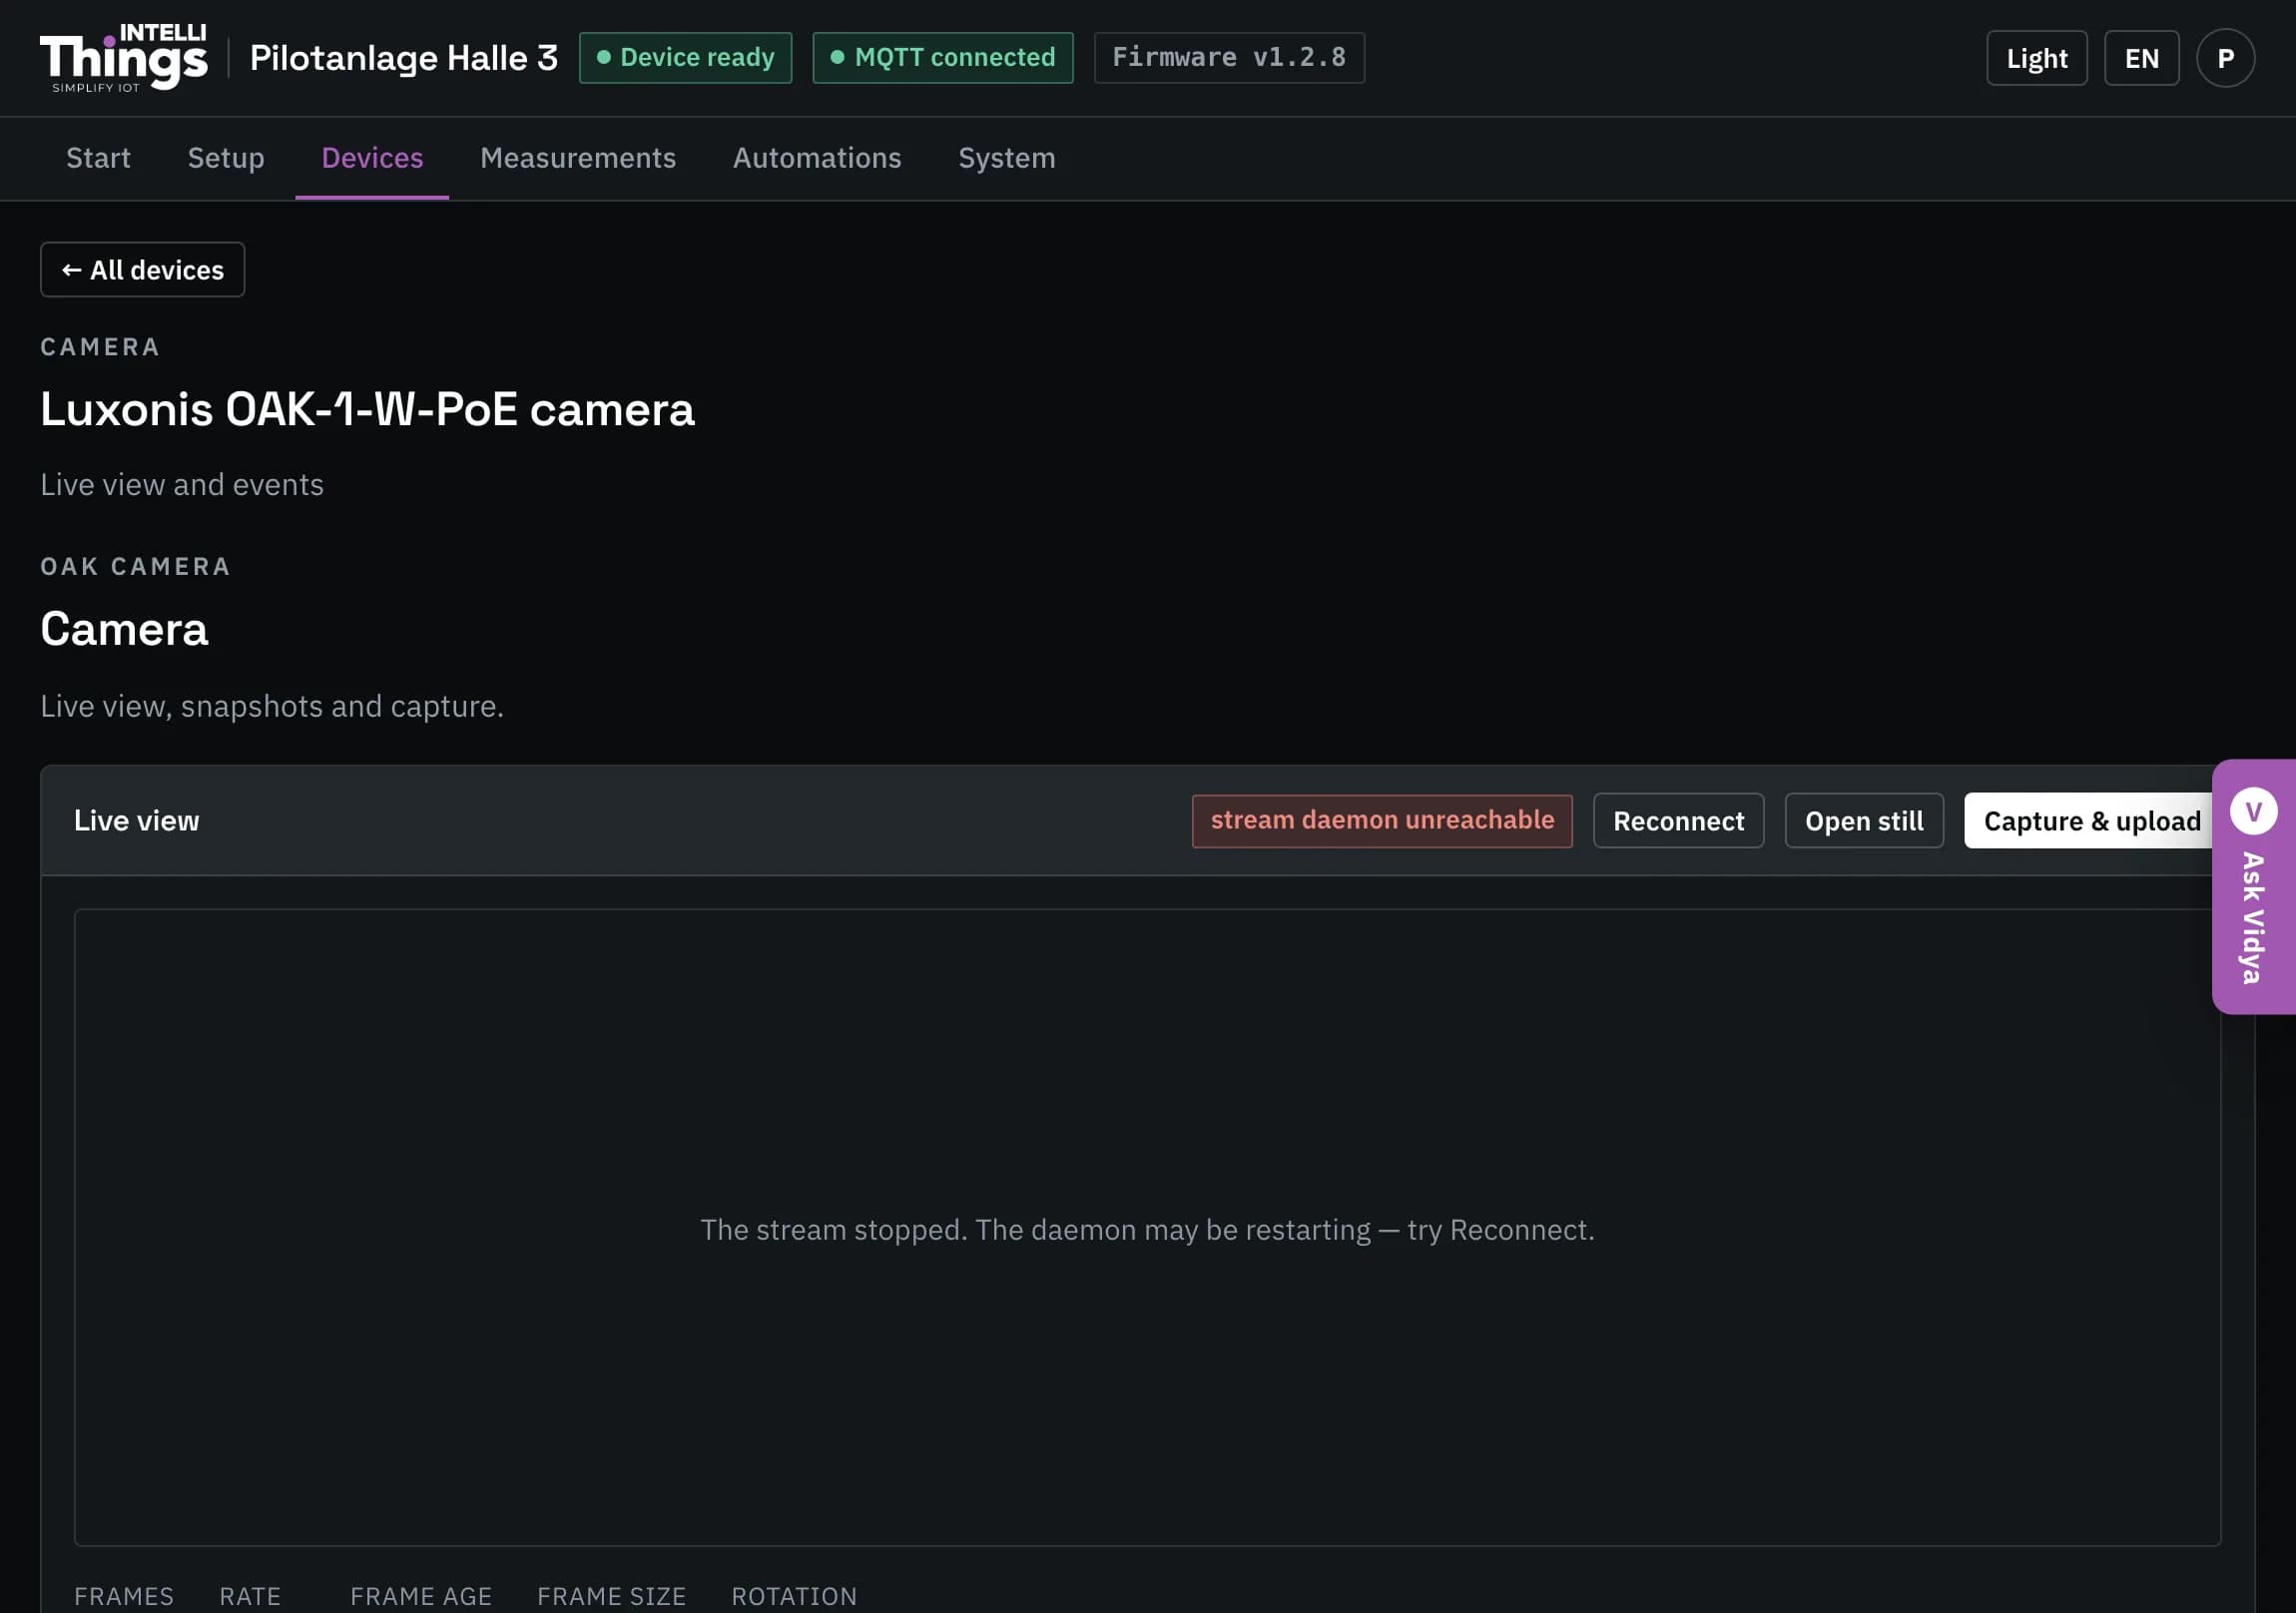
The camera page uses English labels regardless of the selected dashboard language.
- Live view displays the camera image and the Reconnect, Open still and Capture & upload controls. Capture & upload takes one photo and sends it to intelliThings CORE. The frame rate and image age shown below the image help you check whether the live view is updating.
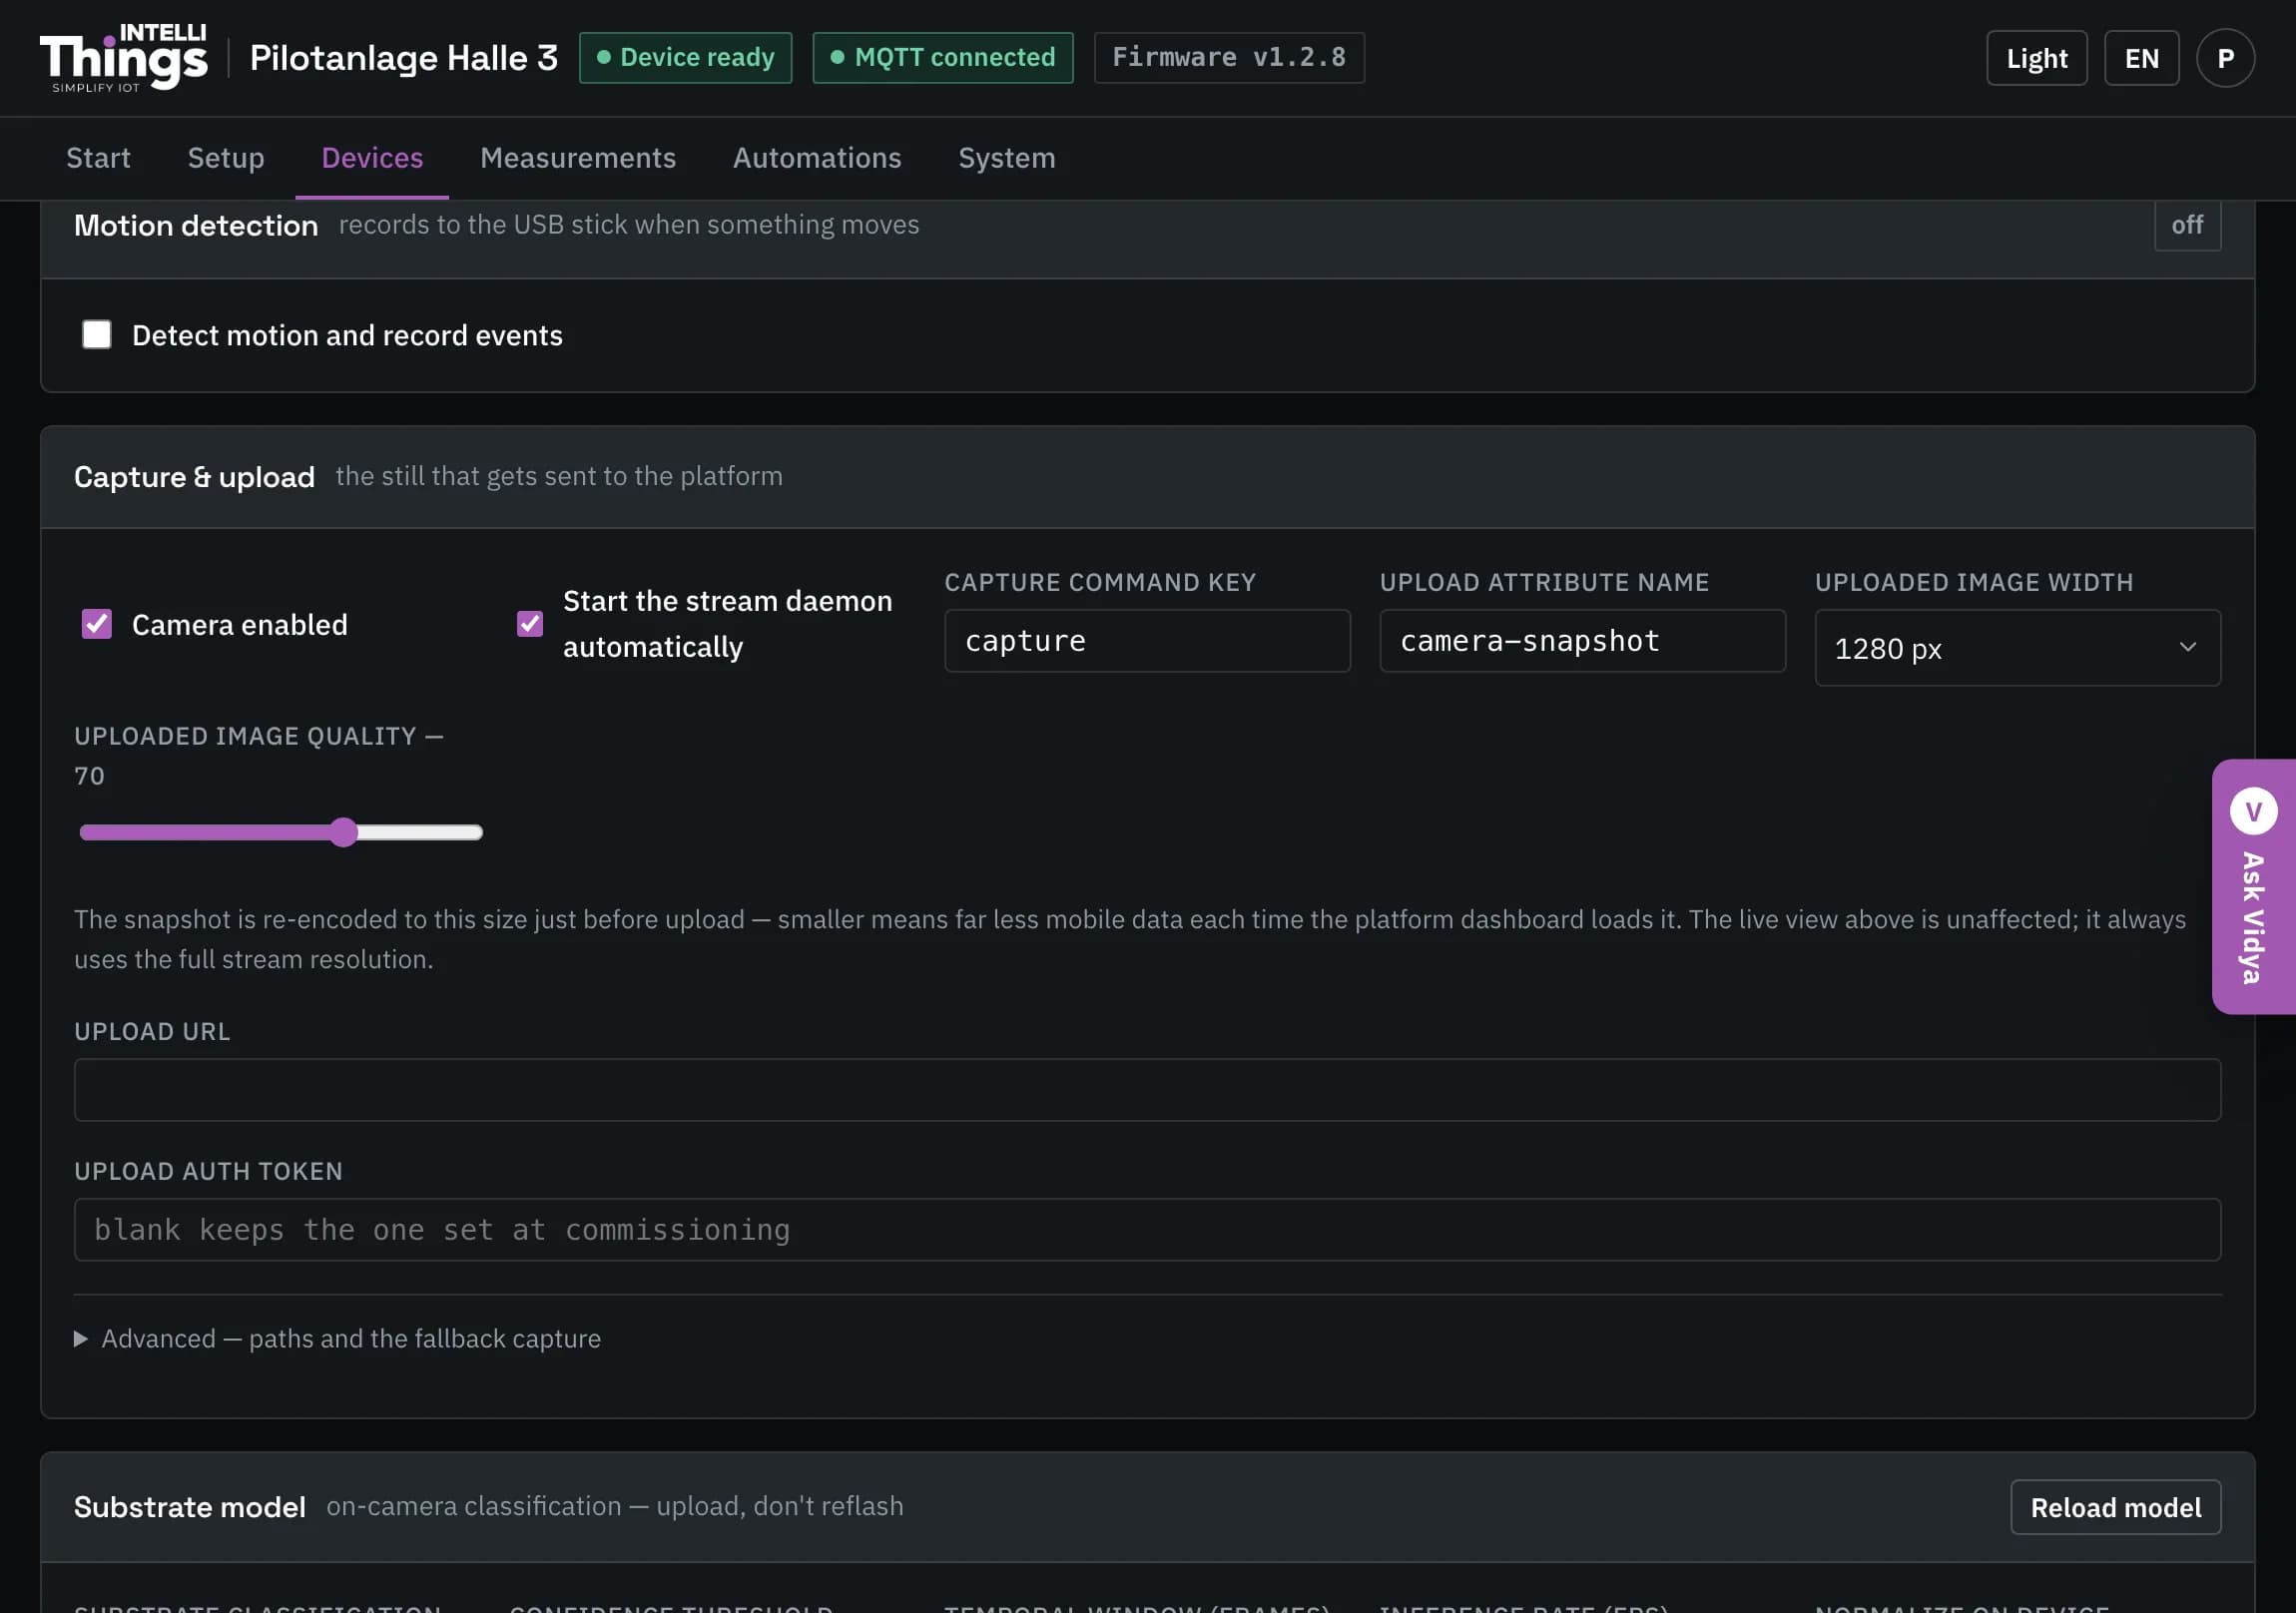
- Stream contains settings for resolution, frame rate, JPEG quality, rotation and the camera’s IP address.
- Exposure controls how the camera responds to light. Exposure adjusts automatically by default. You can adjust image brightness or reduce flicker caused by indoor lighting.
- Motion detection controls how much movement triggers a recording, how long each recording lasts and how many seconds before the trigger are included.
Events lists recorded events and provides a player for reviewing them frame by frame.
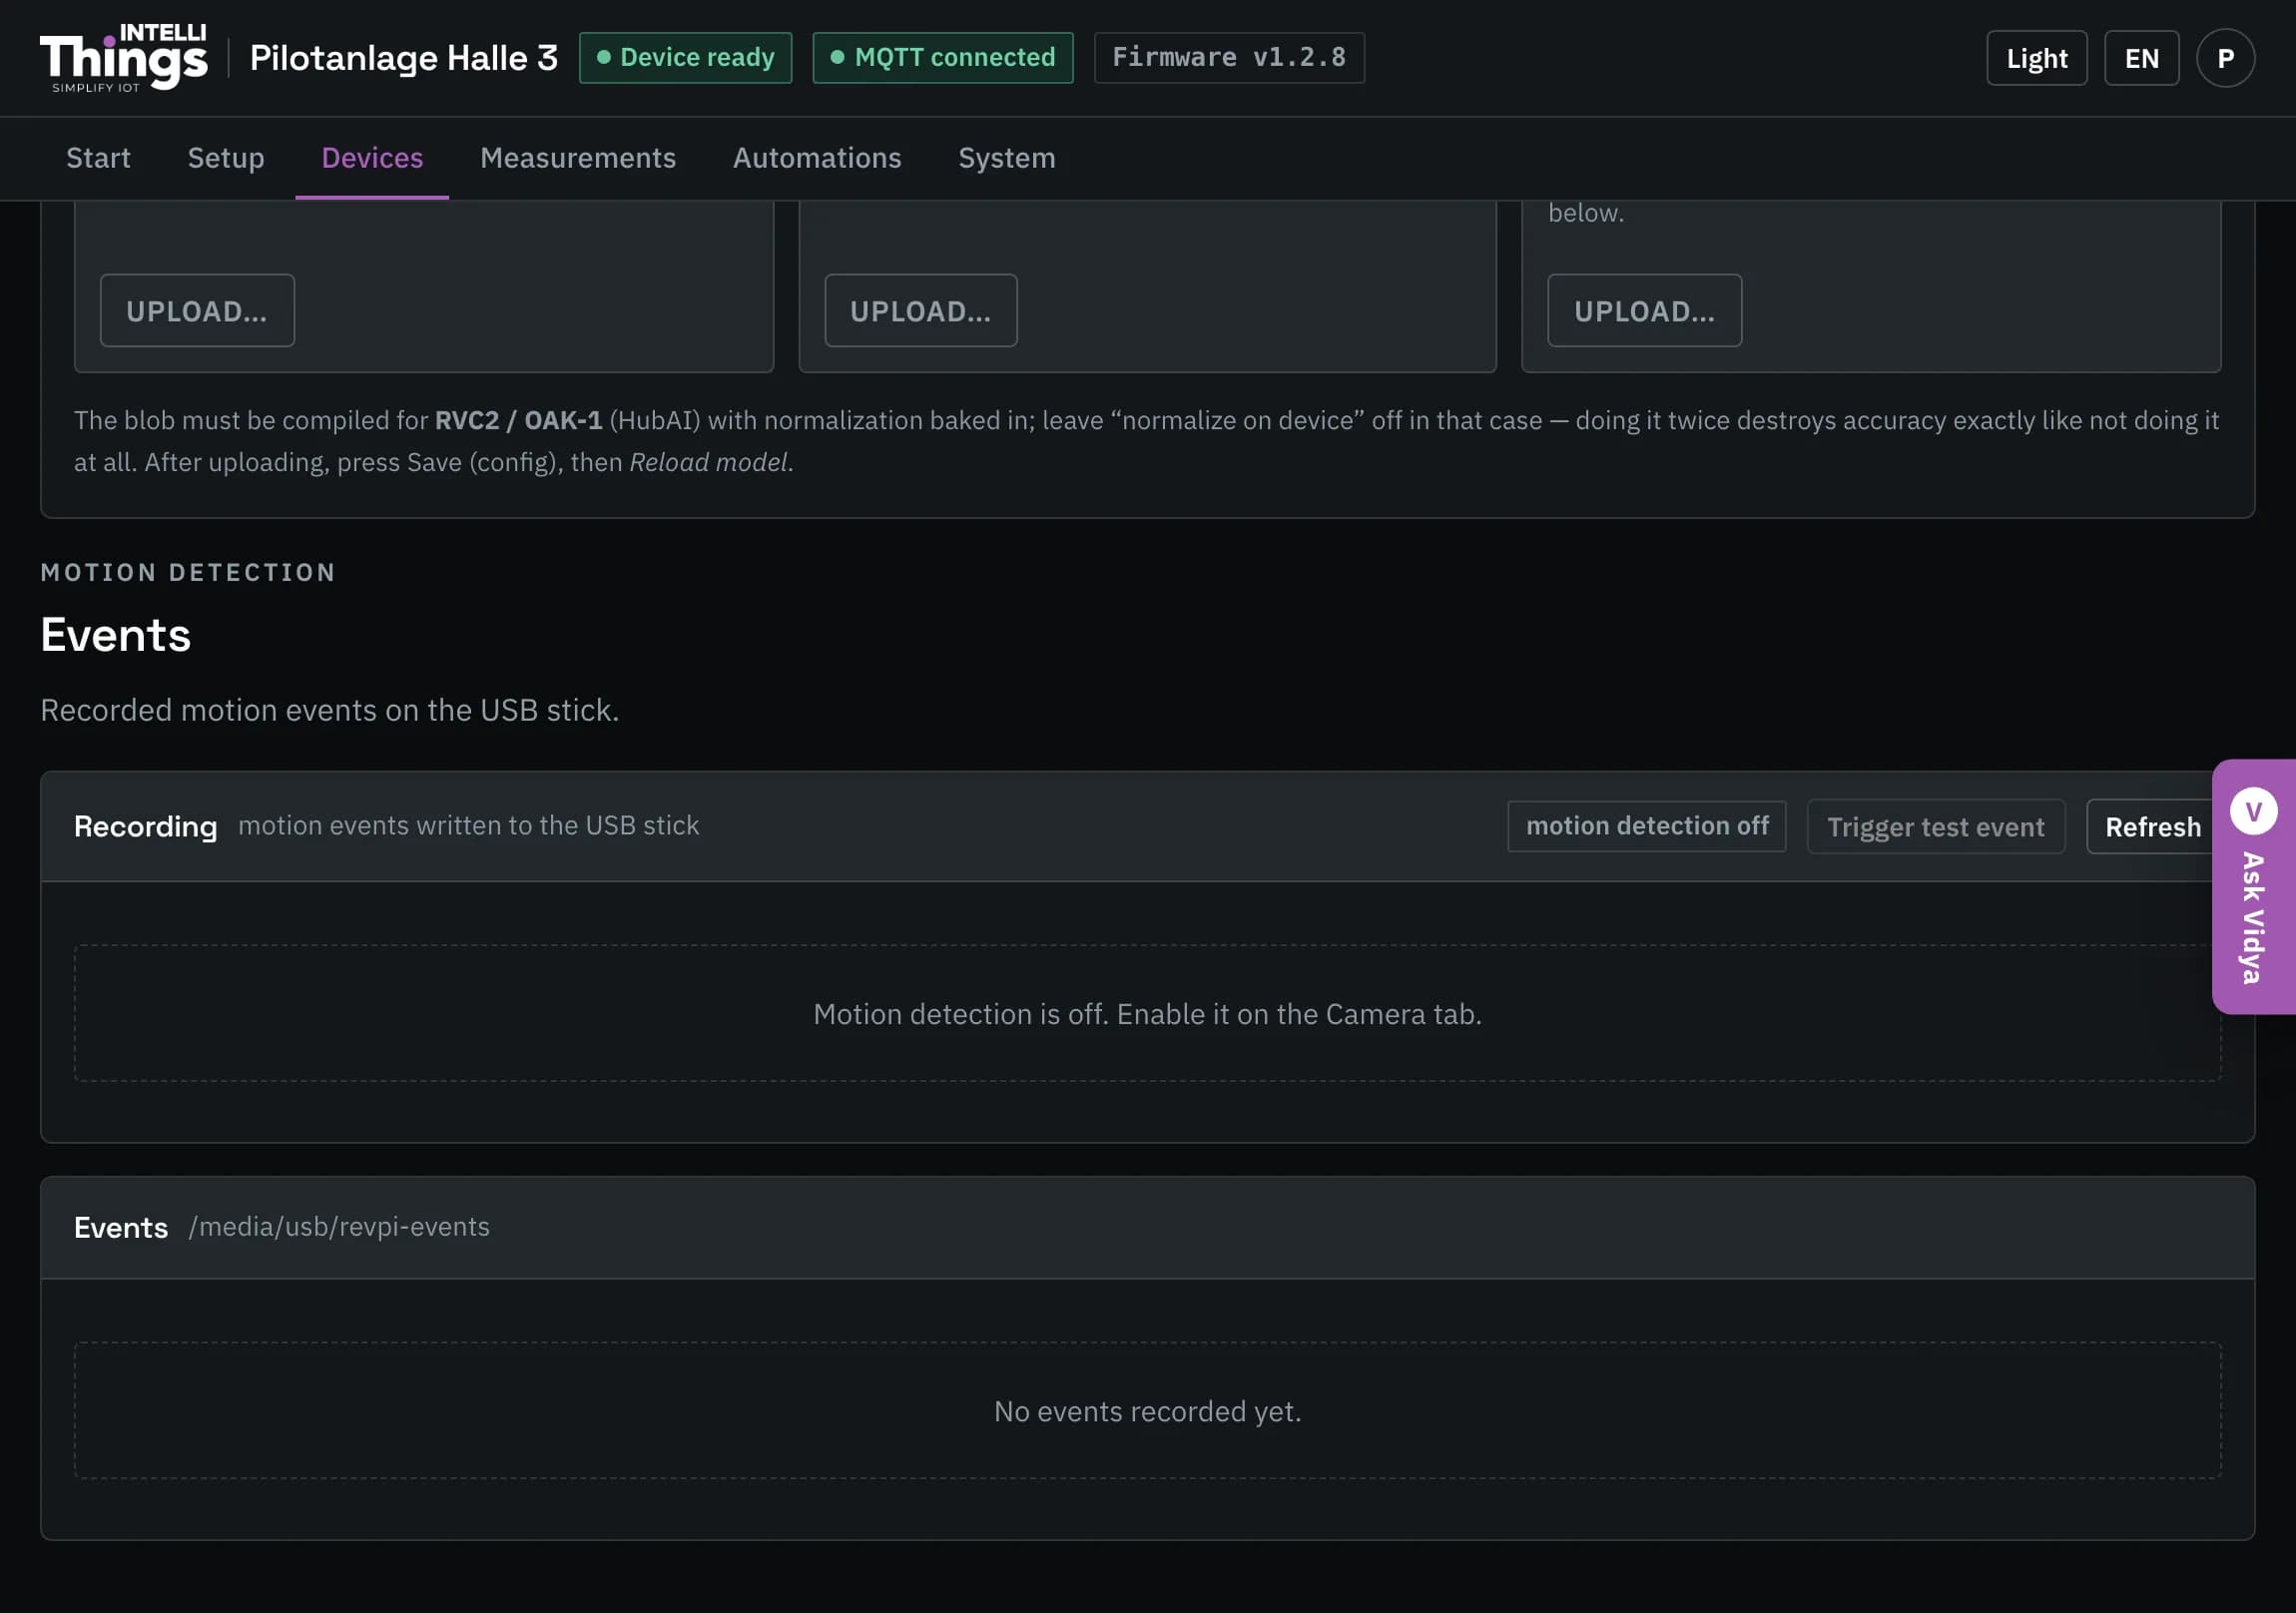
Recording stops when the storage is nearly full. Recordings are never deleted automatically. When the USB storage fills up, you must free up space manually. See Storage.