

OTA Updates
Create and manage firmware update campaigns to push updates to your devices over-the-air.
The OTA Updates feature allows you to distribute firmware updates to your devices remotely. You create update campaigns that target specific device groups, control the rollout pace, and verify successful installations — all from the myCistern platform.
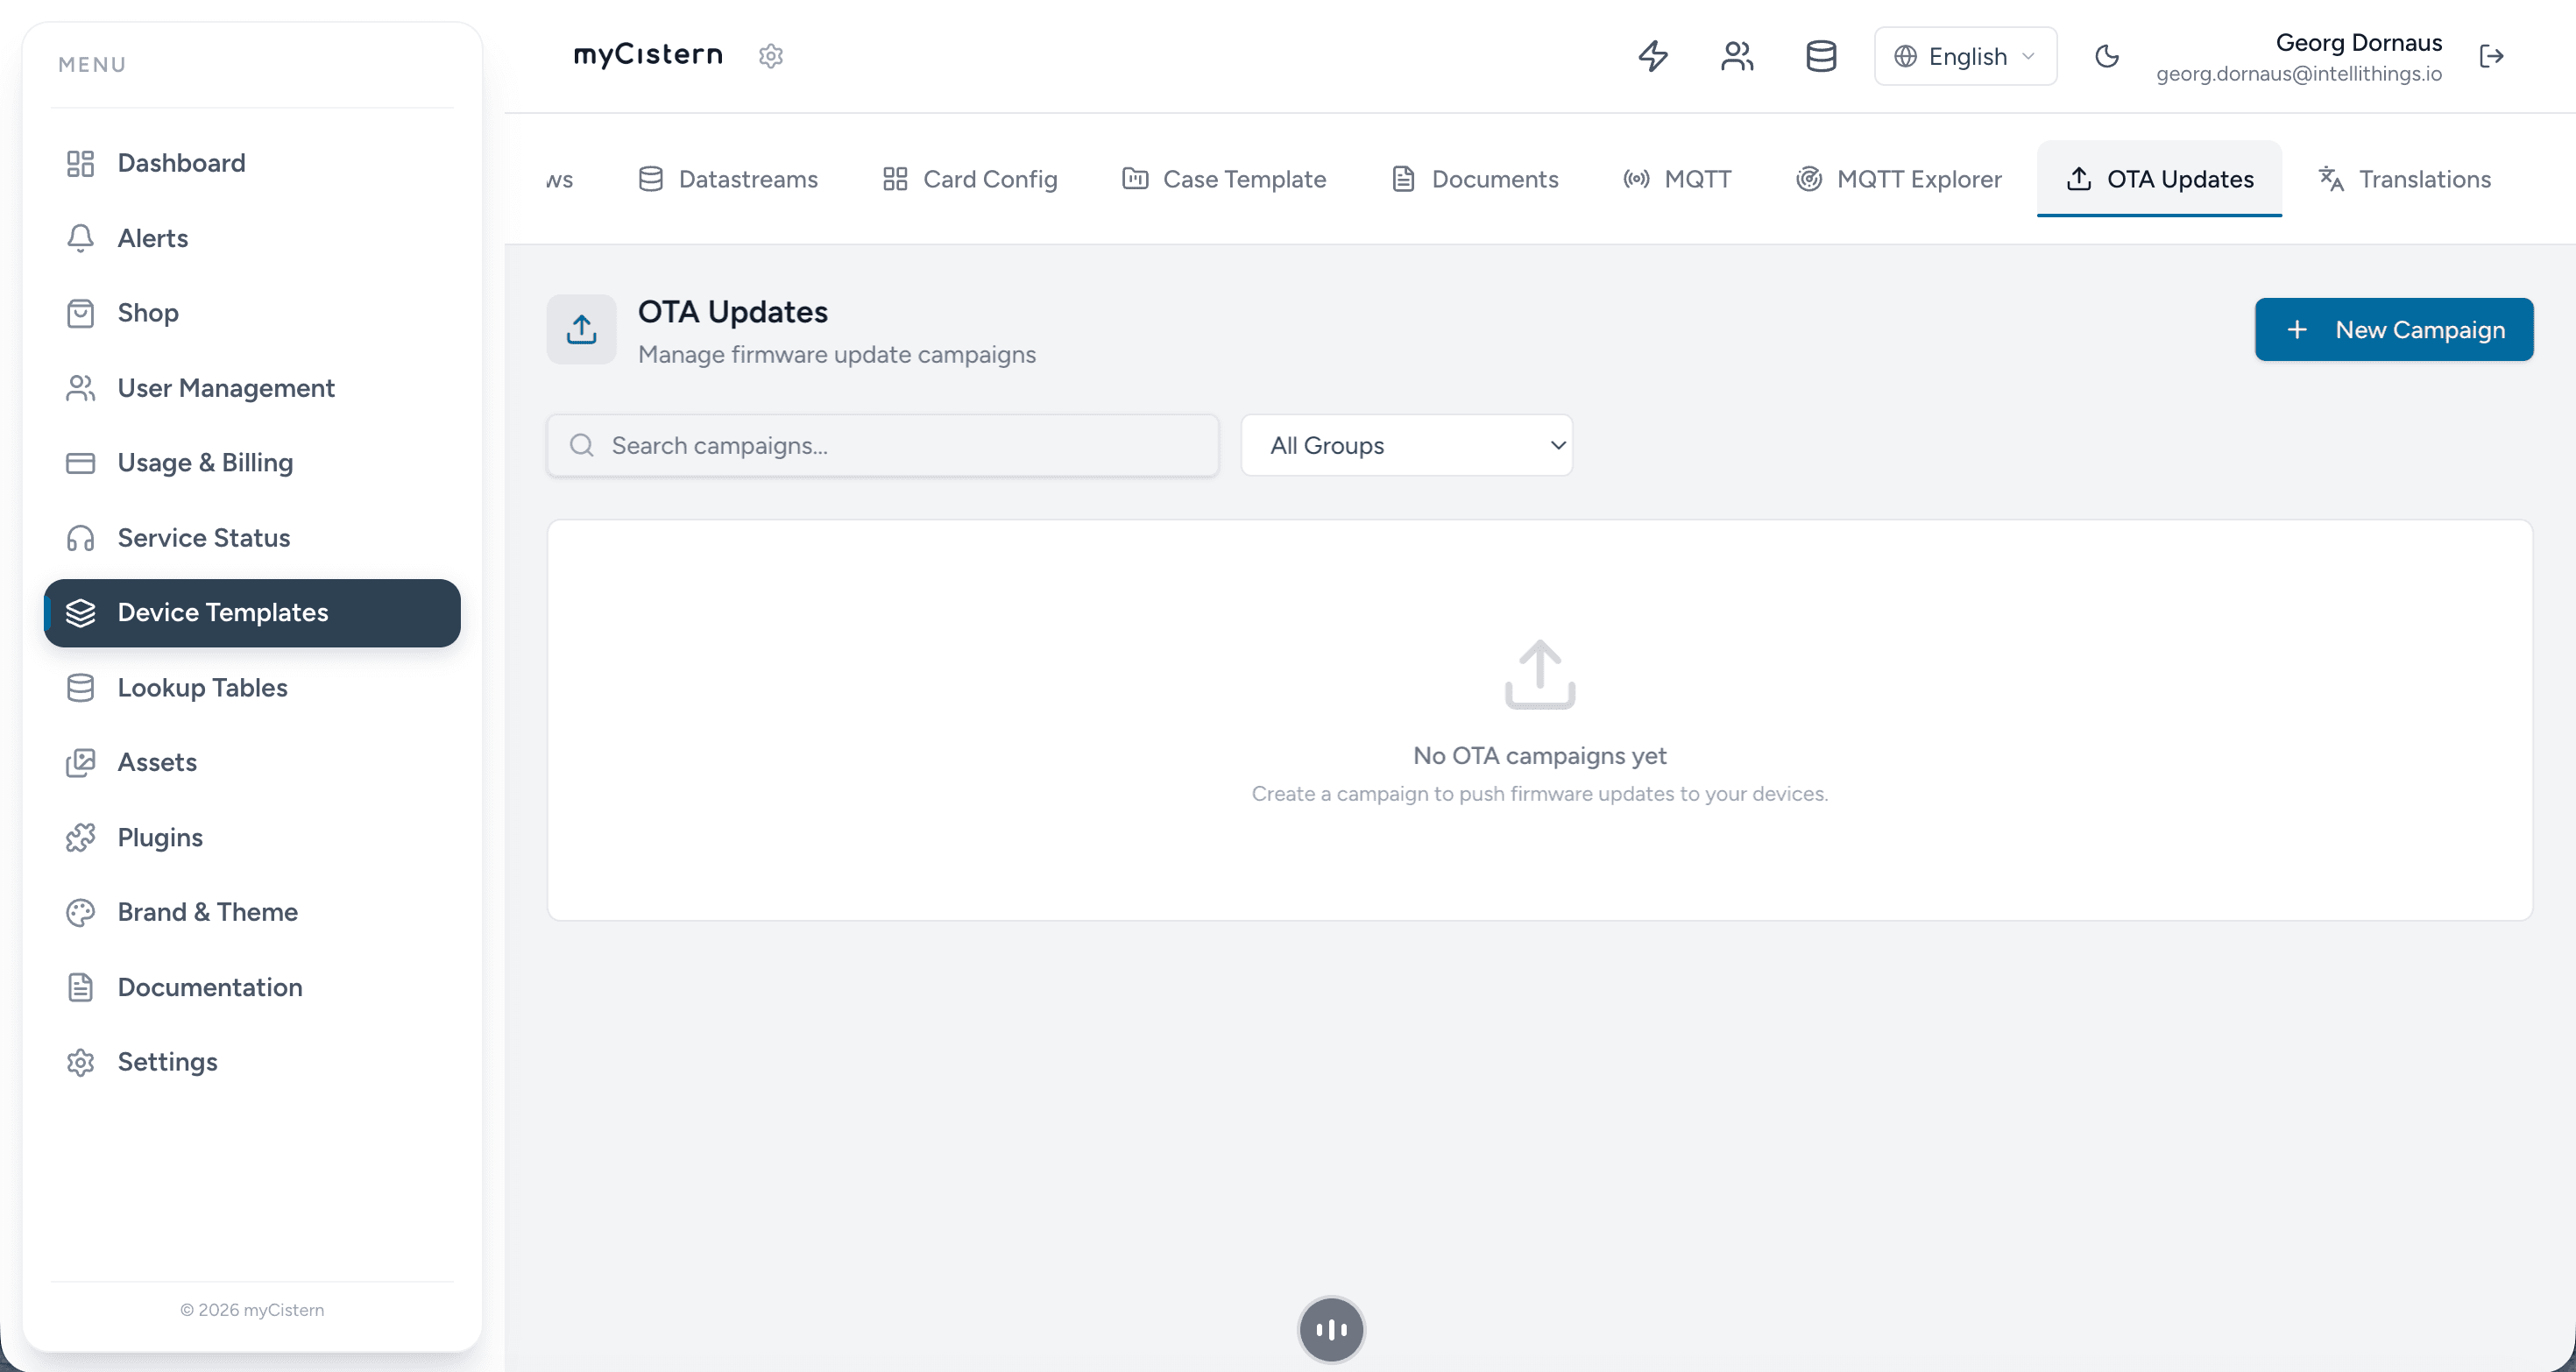
How OTA Updates Work
When you create an OTA campaign, the following flow is executed:
- Campaign Creation — You define the firmware version, download URL, and target device groups.
- MQTT Dispatch — The platform sends an MQTT message to each targeted device containing the firmware version and URL.
- Device Decision — Each device compares the announced firmware version with its currently installed version. If it differs, the device downloads the firmware from the provided URL.
- Installation & Reboot — The device installs the firmware and reboots.
- Verification — The device reports its installed firmware version back to the platform. The platform verifies that it matches the campaign's expected version.
Access the OTA Updates Manager
- Navigate to Device Templates in the left sidebar.
- Select the desired device template.
- Click the OTA Updates tab in the top navigation bar.
Create a New Campaign
Click the + New Campaign button to open the campaign creation dialog.
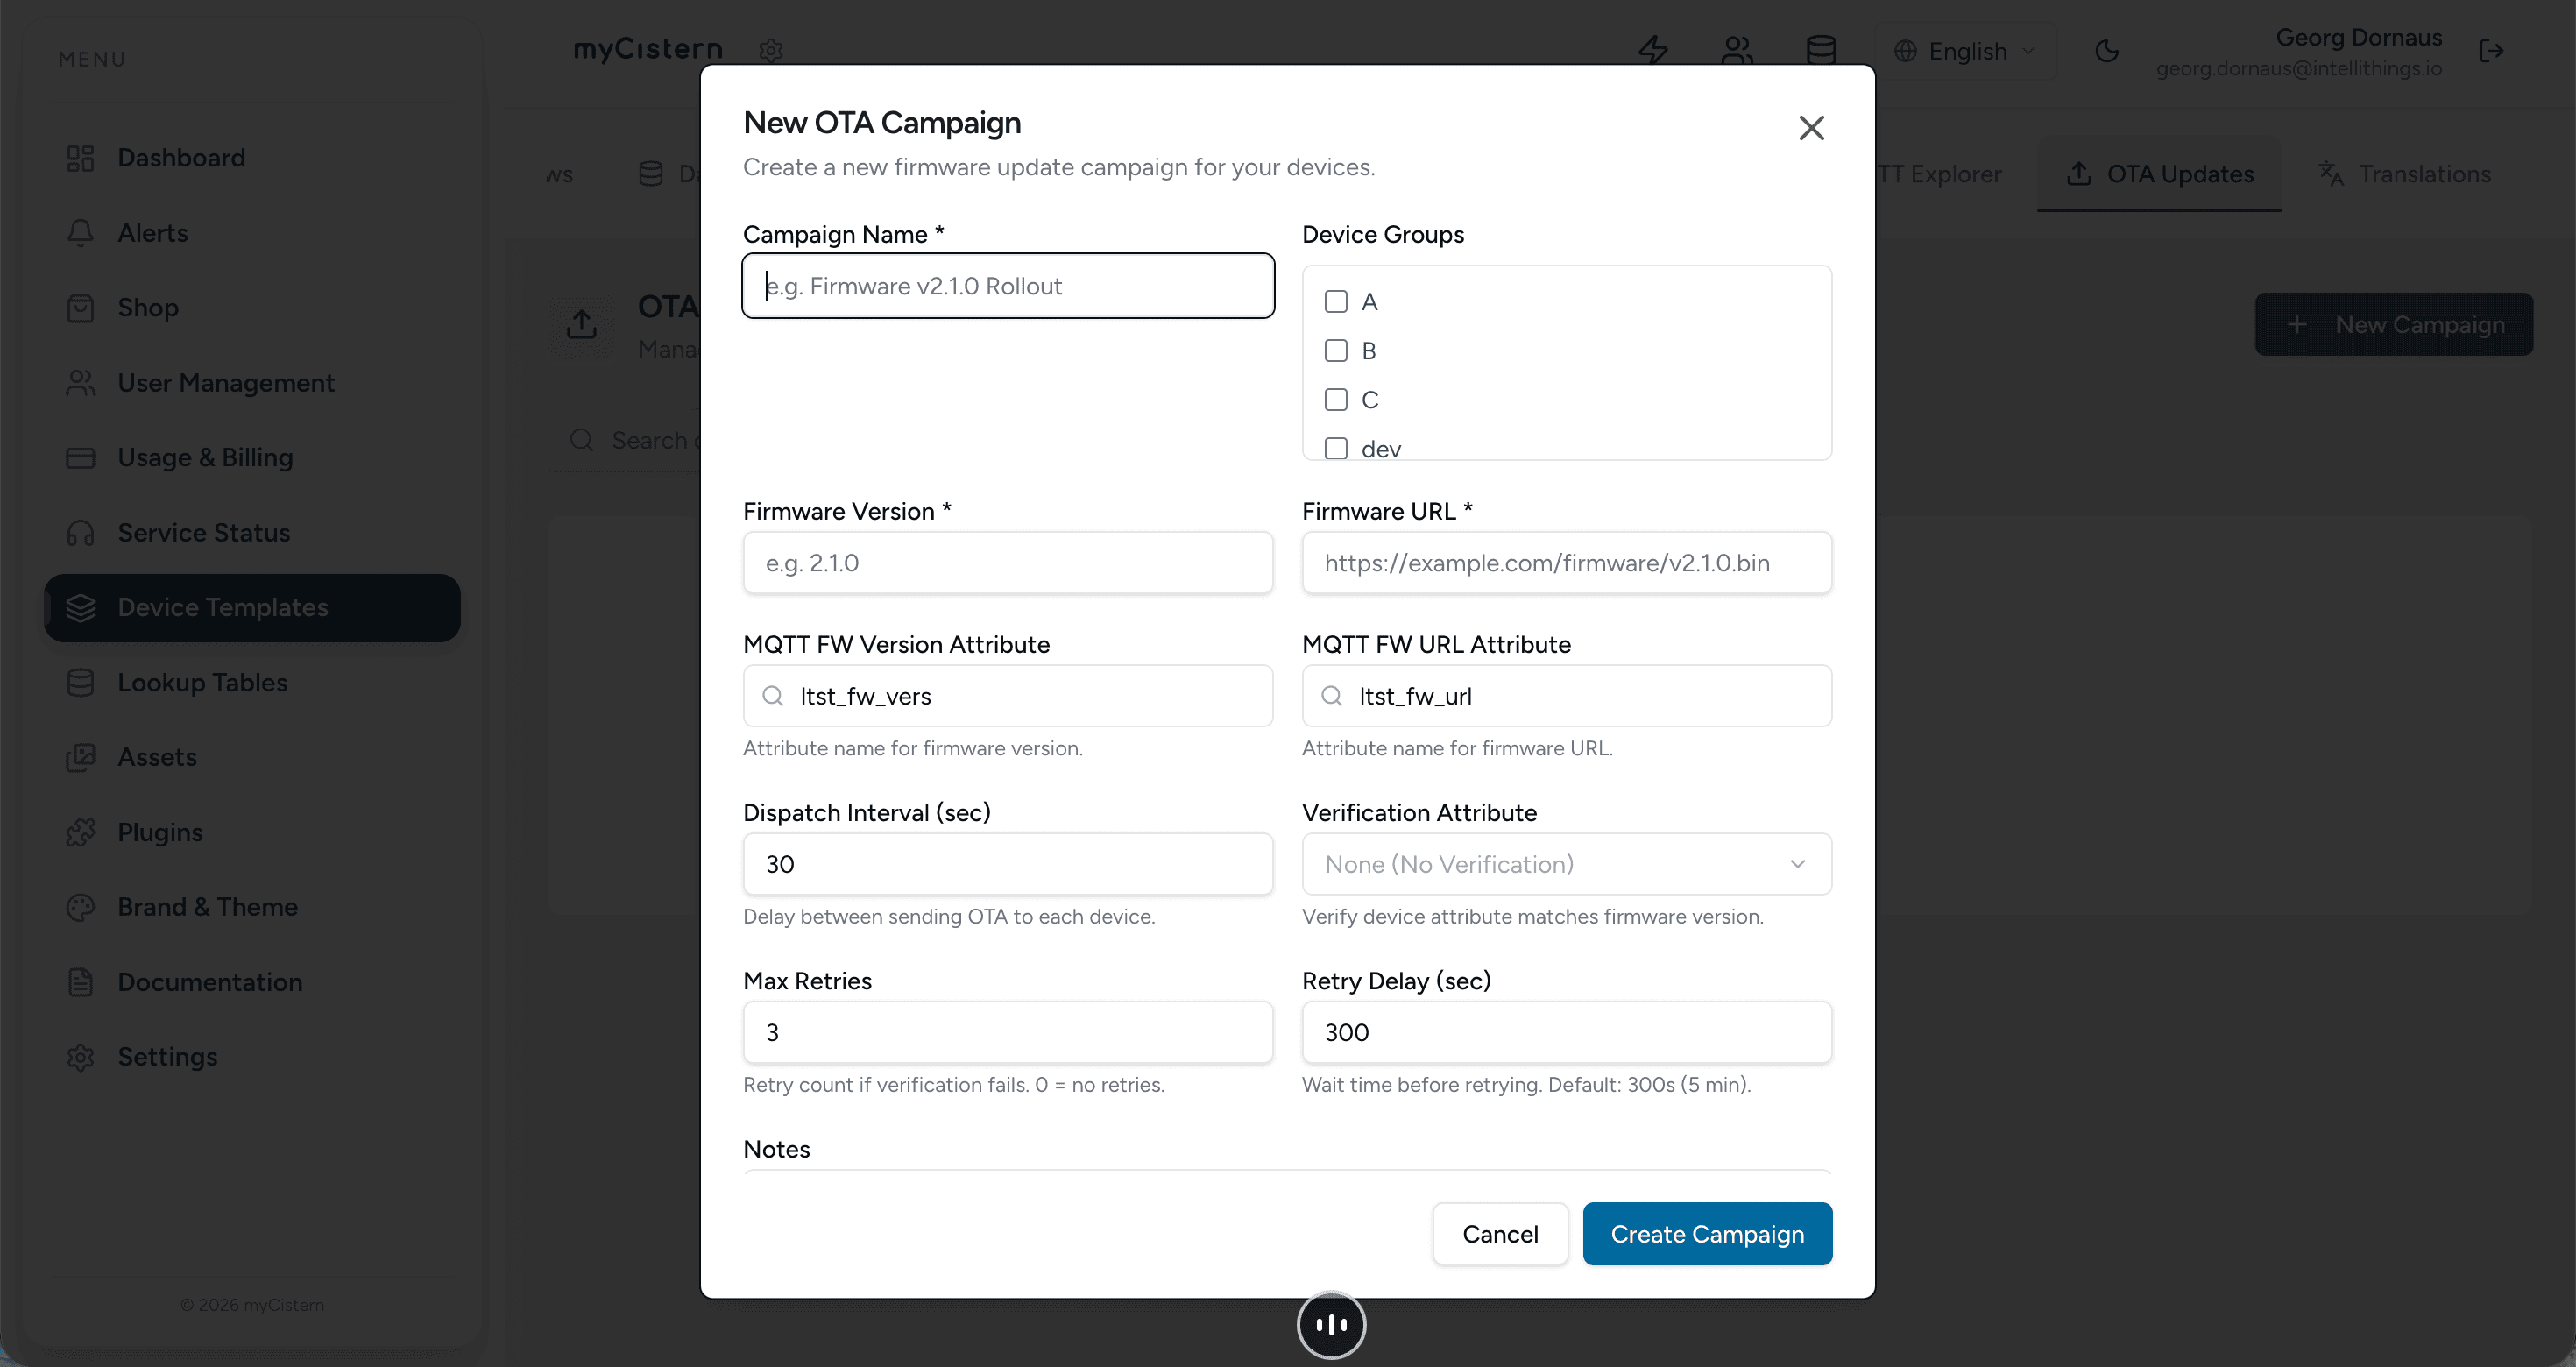
Fill in the following fields:
Campaign Name
A descriptive name for your update campaign, e.g. Firmware v2.1.0 Rollout. This name helps you identify and manage campaigns in the overview list.
Device Groups
Select one or more device groups that should receive this update. Device groups allow you to roll out updates gradually — for example, to a small dev group first, then to production groups A, B, and C.
Tip: Device groups are created in the Devices section of your device template. You can assign individual devices to any number of groups.
Firmware Version
The version identifier of the firmware being distributed (e.g. 2.1.0). Devices compare this version against their currently installed firmware to determine whether they are affected by the update.
Firmware URL
The public URL from which devices will download the firmware file. Consider the following options:
| Source | Description | Recommendation |
|---|---|---|
| Public HTTPS server | A web server with TLS encryption | ✅ Recommended — widely supported and secure |
| intelliThings Asset Manager | Store firmware files within the myCistern platform | ✅ Convenient — no external infrastructure needed |
| HTTP (unencrypted) | Plain HTTP URL | ⚠️ Not recommended for production environments |
Security recommendation: Always use HTTPS with valid TLS certificates to ensure firmware integrity and prevent man-in-the-middle attacks.
MQTT FW Version Attribute
The MQTT attribute name for the firmware version. This attribute is used in the MQTT message payload sent to devices.
- Default:
ltst_fw_vers
MQTT FW URL Attribute
The MQTT attribute name for the firmware URL. This attribute carries the download URL in the MQTT message.
- Default:
ltst_fw_url
Dispatch Interval (sec)
The delay between sending OTA updates to successive devices. This prevents overwhelming your devices or MQTT broker with simultaneous update requests.
- Default:
30seconds - Recommended:
15–60seconds depending on device count
Best Practice: Use a larger interval (60+ seconds) when targeting many devices at once. Smaller intervals (10–15 seconds) are suitable for small groups.
Verification Attribute
The device attribute that holds the currently installed firmware version. The platform uses this to:
- Verify before dispatch — Check if the device's installed version differs from the campaign version. If they match, no update message is sent.
- Verify after installation — After the device has processed the update, the platform checks whether the reported version matches the expected campaign version to determine if the campaign was successful for that device.
Select None to skip verification entirely (no verification mode).
Max Retries
The number of retry attempts if verification fails. Set to 0 to disable retries.
- Default:
3
Retry Delay (sec)
The wait time in seconds before retrying verification after a failure.
- Default:
300seconds (5 minutes)
Notes
Optional field for internal documentation. Add release notes, change descriptions, or deployment instructions for your team.
Device Groups for Phased Rollouts
Device groups are a powerful feature for controlling firmware update rollouts. They are managed in the Devices section of your device template.
Creating Device Groups
- Navigate to the Devices section of your device template.
- Select one or more devices.
- Assign them to device groups (e.g.,
A,B,C,dev).
Recommended Rollout Strategy
| Phase | Target Group | Purpose |
|---|---|---|
| Phase 1 | dev | Test the update on development devices |
| Phase 2 | A | Limited production rollout (small subset) |
| Phase 3 | B | Expand to larger production group |
| Phase 4 | C | Full production rollout |
This staged approach allows you to catch issues early and minimize the impact on your deployed device fleet.
Best Practices
- Test before production — Always create a test campaign for your
devgroup first and verify that devices update successfully. - Use HTTPS — Serve firmware files from a TLS-protected endpoint to ensure download integrity.
- Set appropriate dispatch intervals — Avoid flooding devices with simultaneous updates, especially for large deployments.
- Enable verification — Use the verification attribute to automatically confirm that devices have the correct firmware version installed.
- Document your campaigns — Use the Notes field to record release notes and deployment context.
- Monitor campaign progress — Check the campaign overview to track which devices have successfully updated.
Tips
- Use descriptive campaign names that include the firmware version and purpose.
- You can create multiple campaigns for the same firmware version targeting different device groups.
- The search bar in the campaign overview helps you quickly find campaigns by name.
- Use the All Groups filter to narrow down campaigns by device group.